If you run Meta ads that drive people to your website to perform a conversion, you must set up the Conversions API. It allows you to send conversions from your server to Meta, in addition to the conversions sent with the browser pixel (read more about Conversions API here).
There are nearly limitless ways to set up the Conversions API. In some cases, it’s as easy as checking a box. In others, it’s complicated and expensive.
I originally set up the API using the Conversions API Gateway. While it is powerful and dependable, it requires an Amazon server, which can cost upwards of $100 per month. I didn’t think I needed the power this server provided to validate the fee.
I abandoned API Gateway, but I struggled to find a satisfactory replacement. I experimented with Zaraz, but deduplication was an obstacle. I even used the Facebook Pixel Plugin as a stop-gap solution.
I missed an option that was right in front of me the entire time. You can set up the API Gateway using Stape without setting up your own Amazon server.
It gets better. Stape only costs $10 per month for a single pixel, and the setup is so insanely simple that I’m embarrassed it took me this long to do it.
I’m going to lay out every step below in detail. But the truth is that it’s as simple as this:
- Sign up for Stape
- Click link to accept invitation to set up API Gateway
- Create a password for API Gateway
- Go through the Meta authorization steps (select your pixel)
- Wait up to 30 minutes for data to appear
That’s seriously it. But, let’s provide all of the details including screenshots so that it’s impossible for you to mess it up…
Sign Up for Stape
Go here to sign up for your API Gateway through Stape.
[NOTE: I get nothing for this. I don’t know Stape. I don’t have any type of relationship or agreement with Stape. I’m just sharing this with you because I think it’s valuable.]
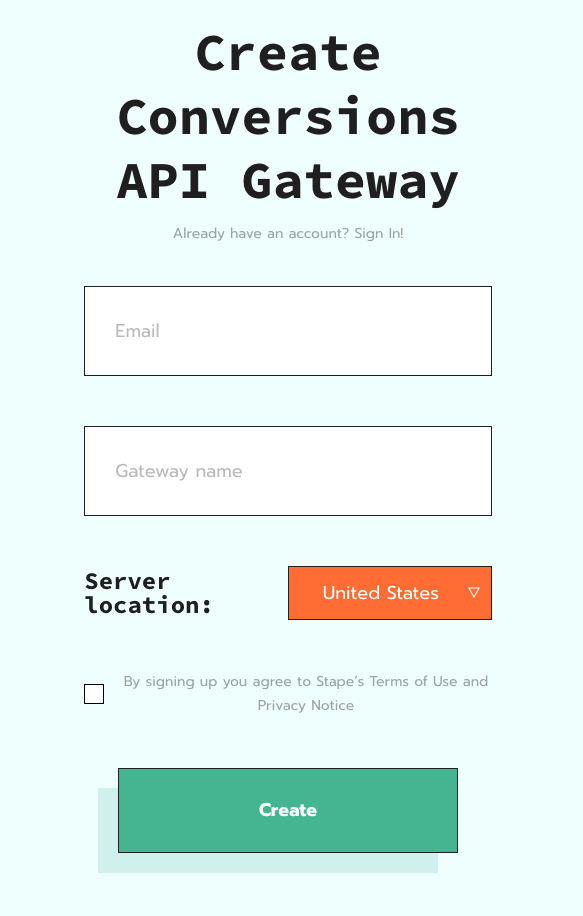
Provide the information requested above:
- API Gateway Name (whatever you want)
- Server location (your country)
Check the box to agree to terms and click “Create.”
2. Set a Stape Password
You’ll receive an email from Stape that looks like this…
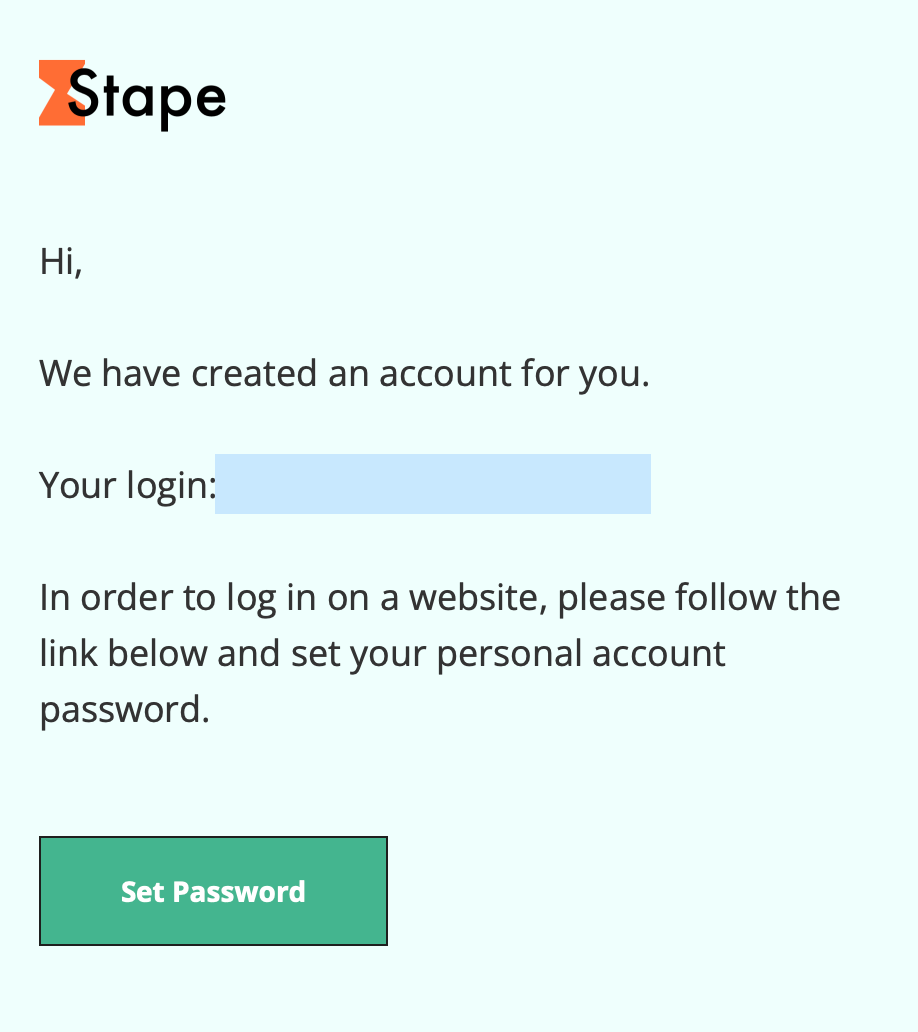
Your login is included in the email. Click the button to “Set Password.” It will open a page that looks like this…
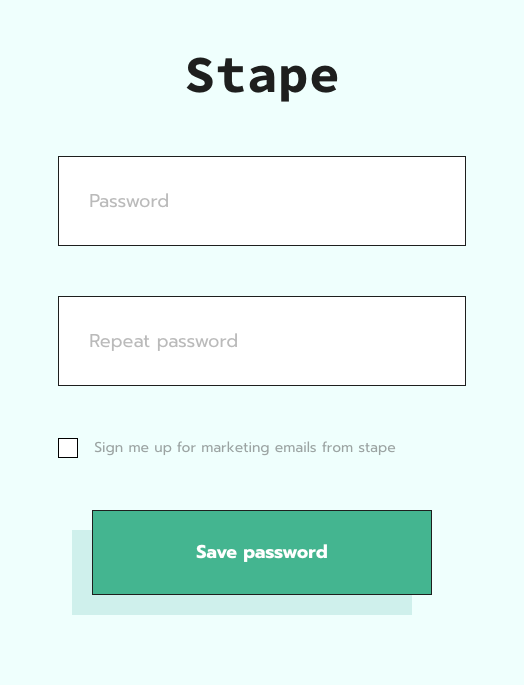
Provide your new password twice and click “Save Password.”
3. Select a Stape Subscription
Next, log in and you’ll see your subscription options…
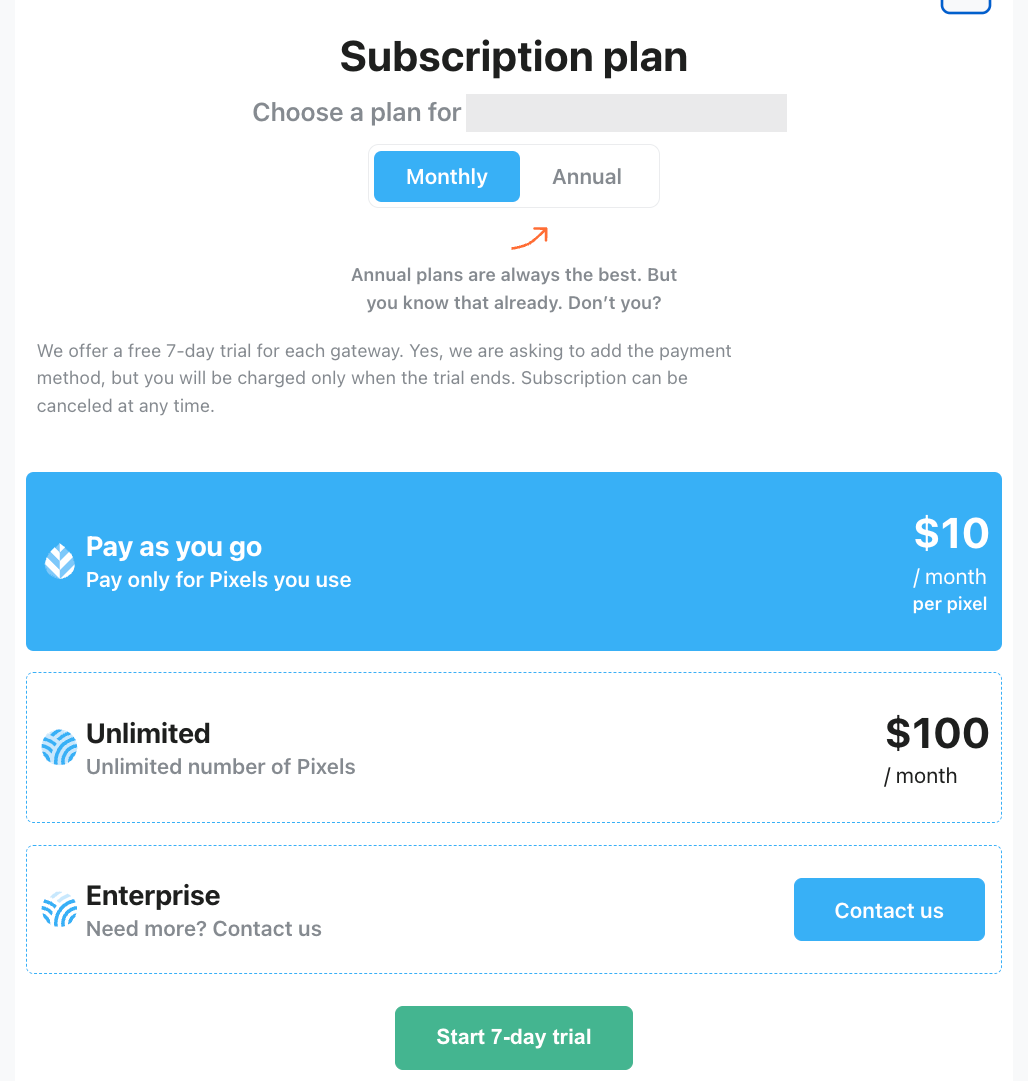
I use the $10 per pixel option. But you can also go with a 7-day trial to test this out before you pay a dollar. You will need to provide a credit card, even if you go with the trial.
Once you’re set up, you’ll see this…
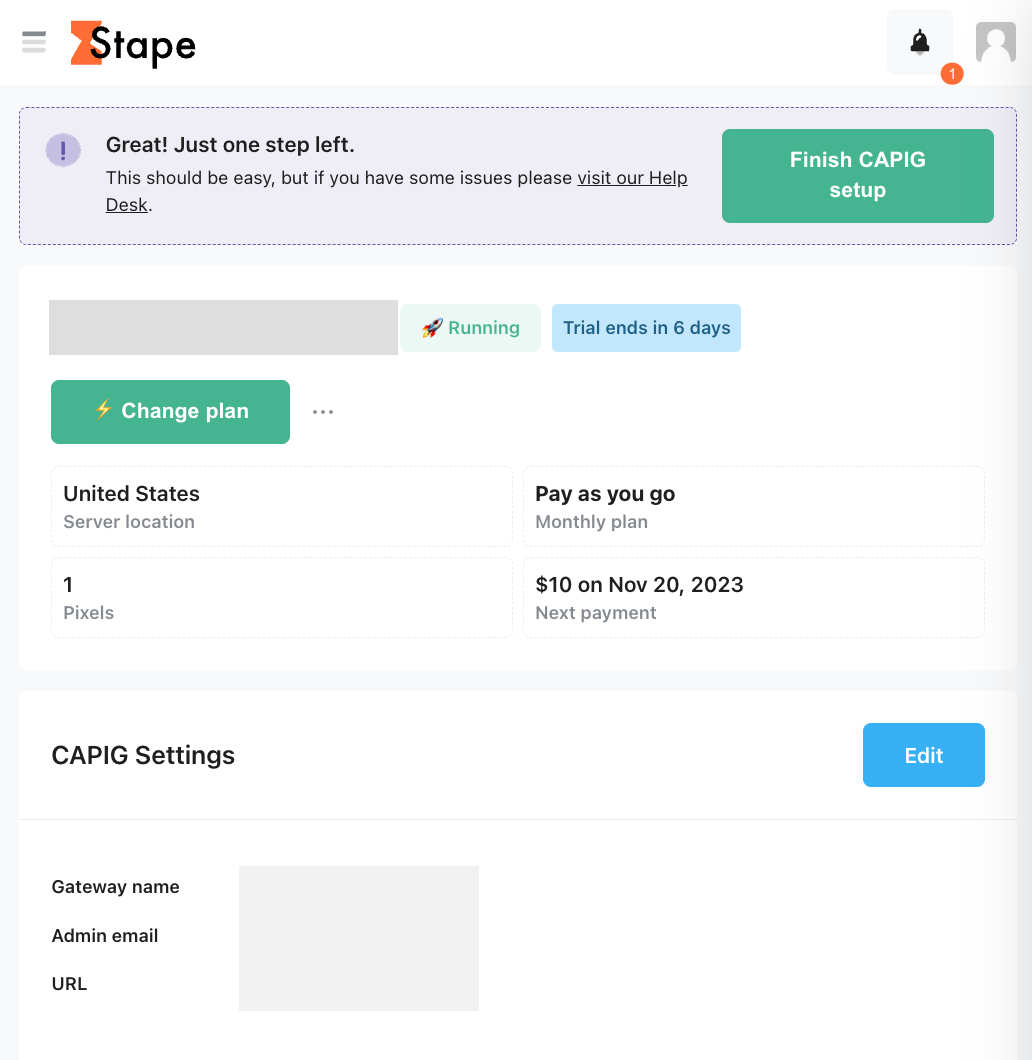
4. Accept API Gateway Invitation
You could simply click that green button at the top of the screen from the previous image that reads “Finish CAPIG Setup.” You will otherwise receive an email invitation from API Gateway that looks like this…
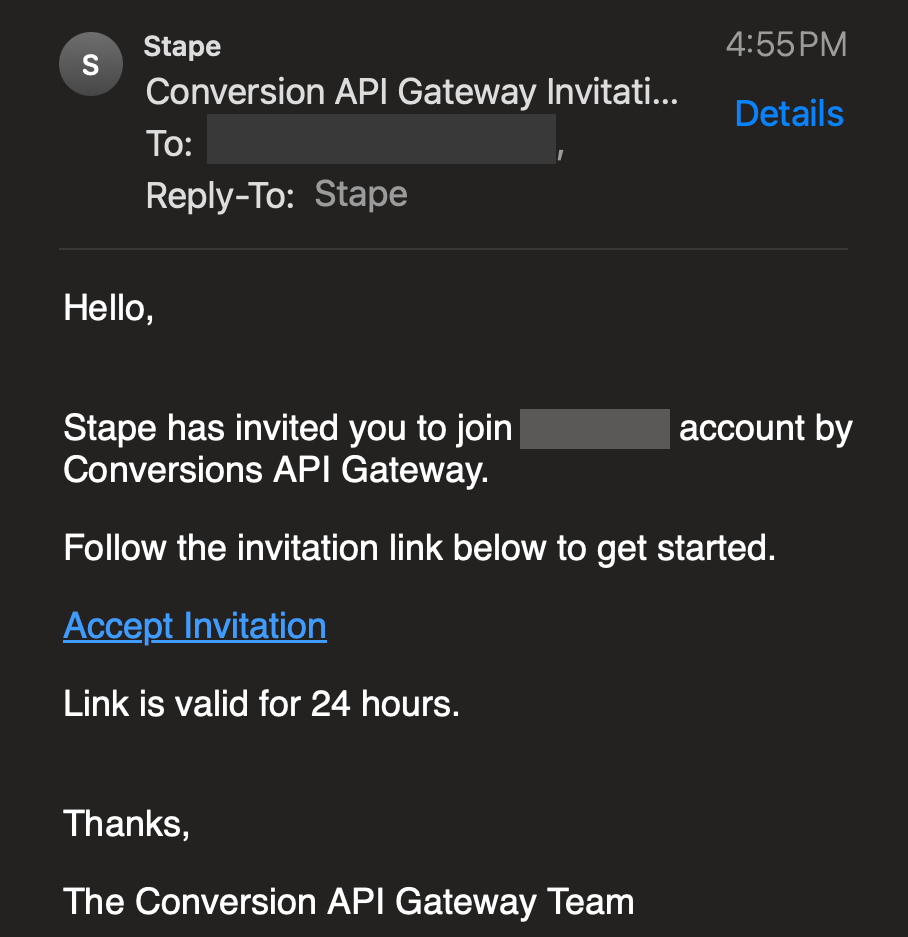
Whether you click the green button or the “Accept Invitation” link in the email, you’ll be directed to the API Gateway login.

Use the same email address as you use with Stape (I haven’t tested this, but that’s what Stape says to do) and set your API Gateway password.
You’ll get a confirmation message that you’re set up and ready to go.
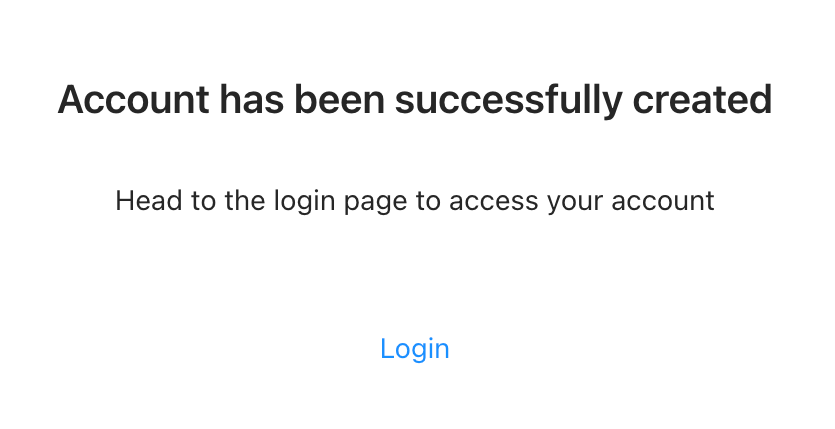
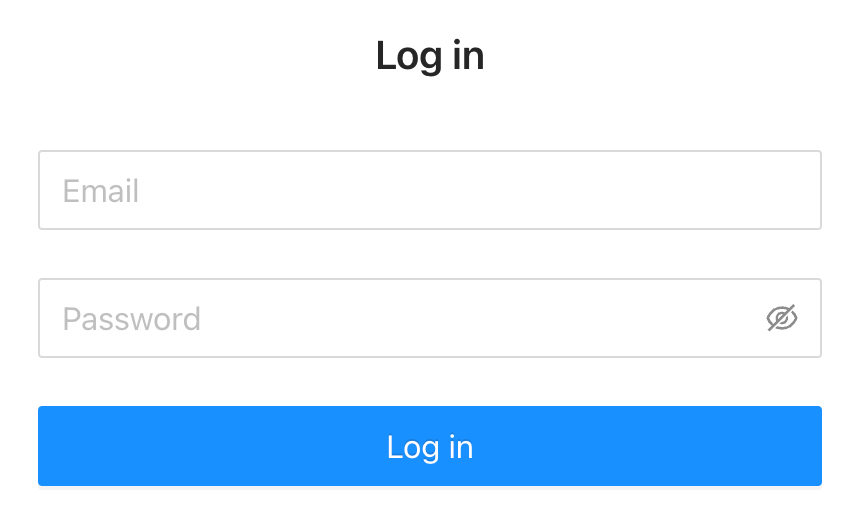
Then log in with your email and password.
5. Add Data Source from API Gateway
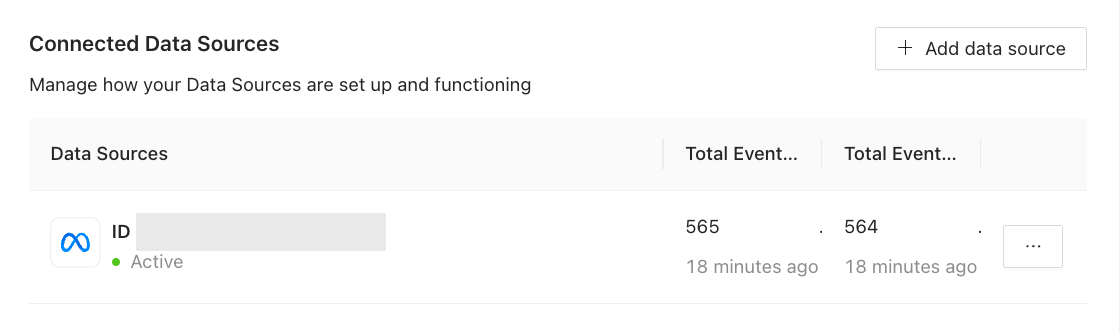
You are now in your API Gateway Dashboard! But there won’t be anything there. While in Overview, you’ll see Connected Data Sources at the top.
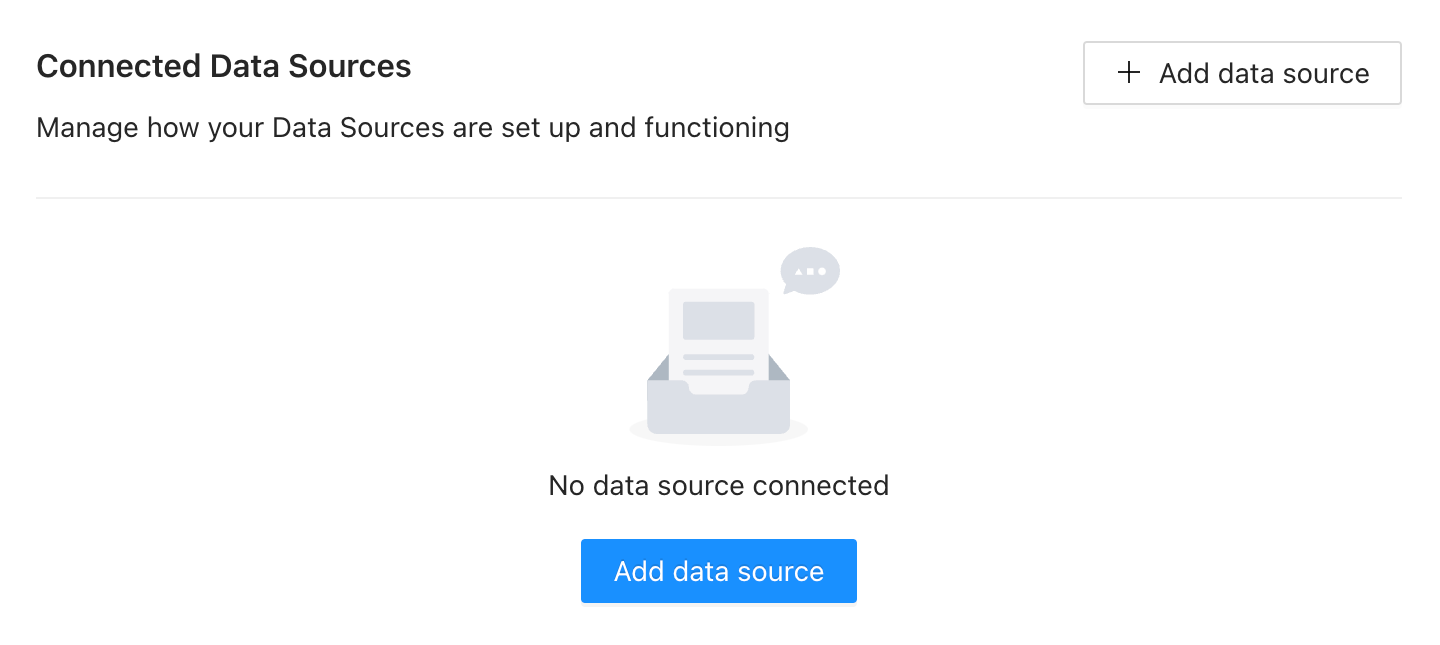
Click the blue button for “Add data source.”
6. Go Through Meta Authorization Process
You’ll now see the following dialog to connect to Meta.

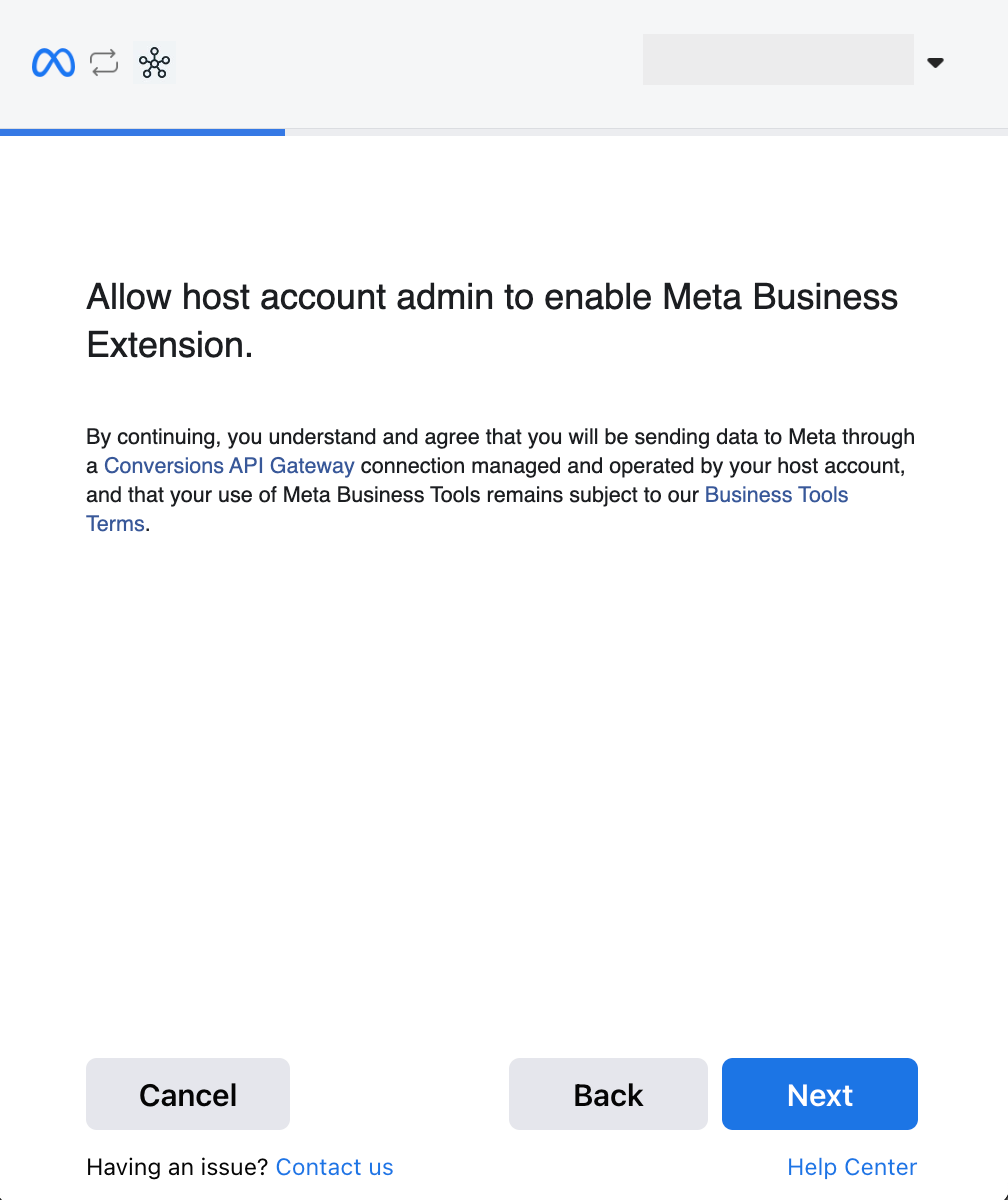
Click “Get Started.” Then you’ll see this and click “Next.”

Click “Next” again…
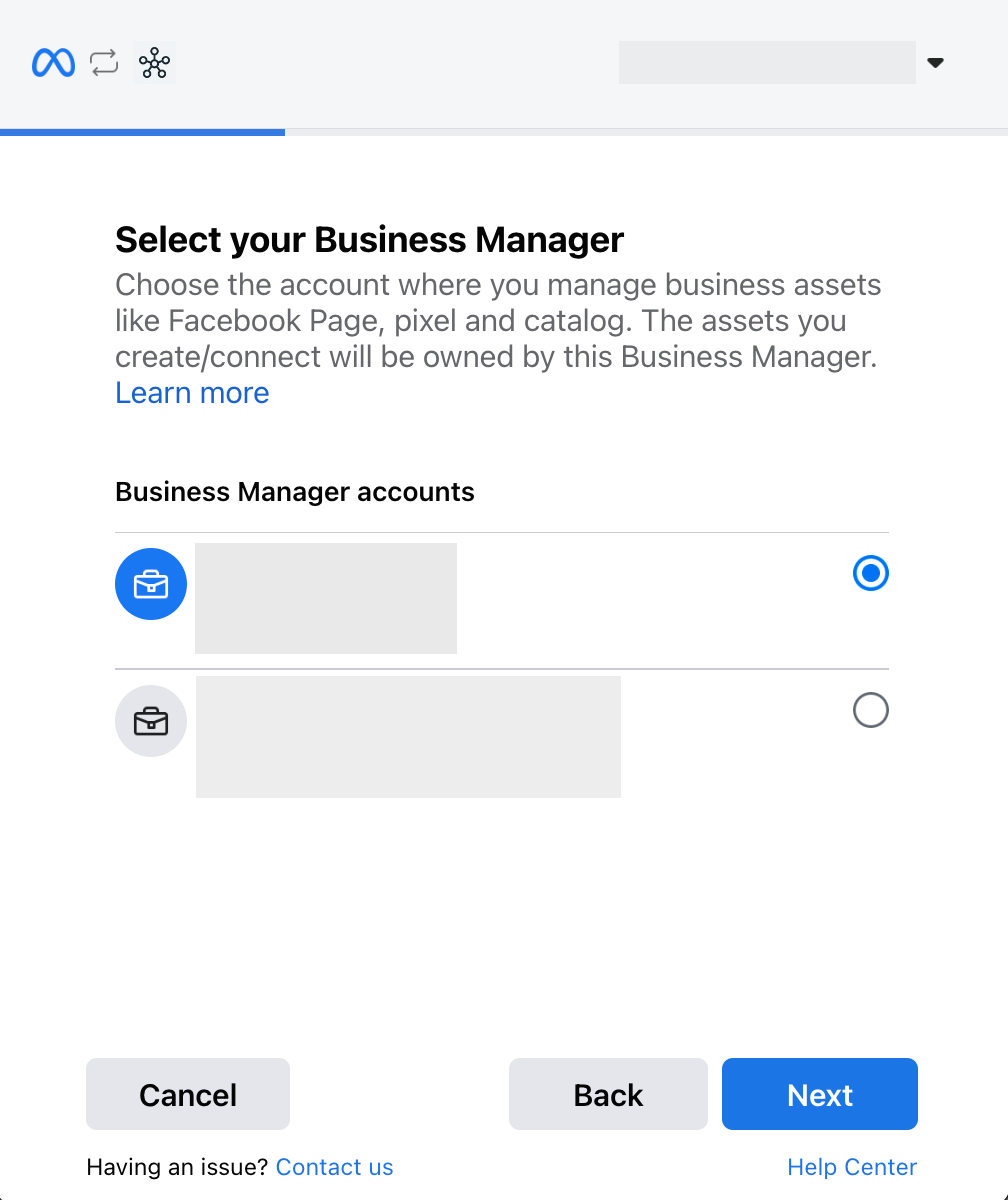
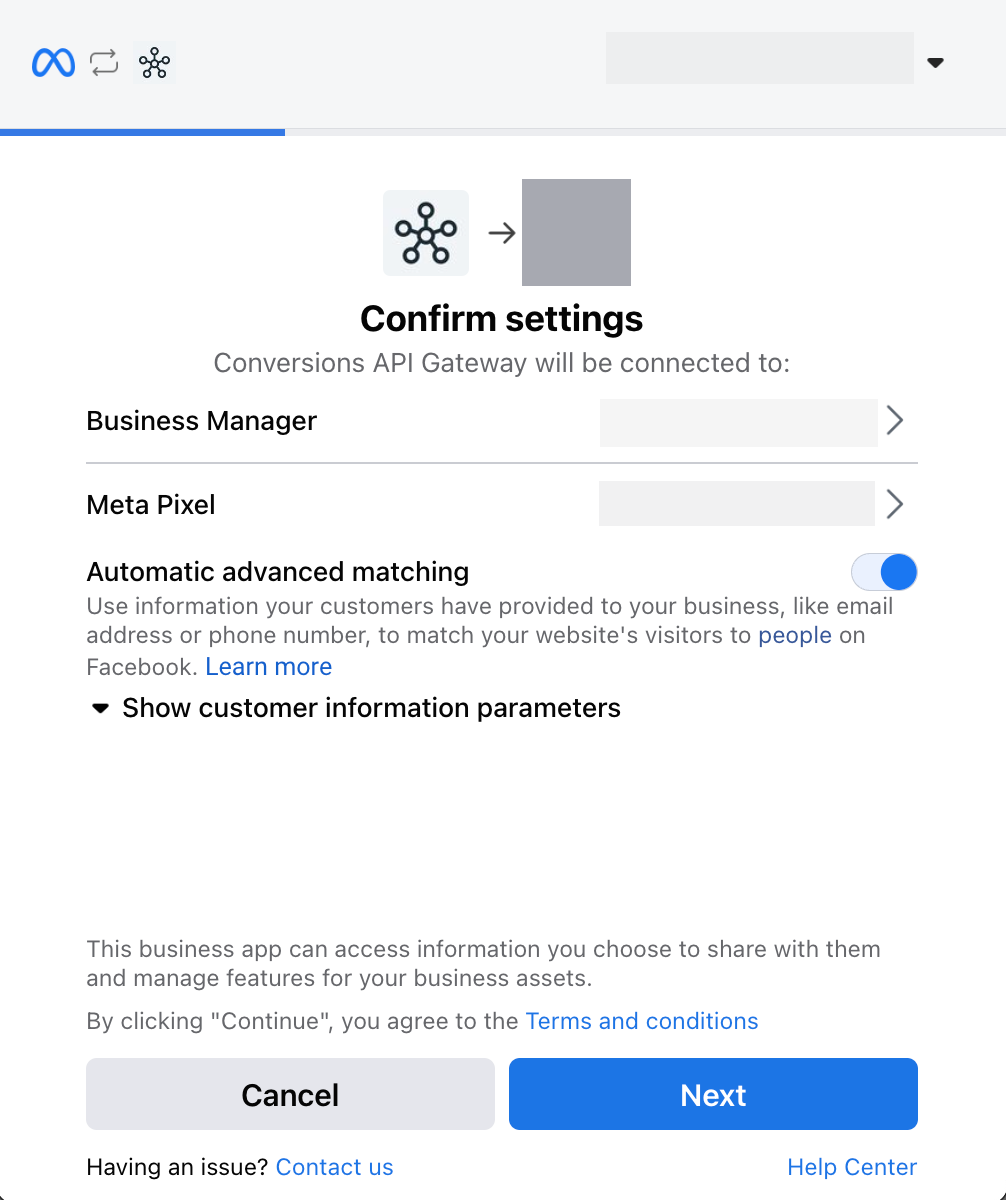
Select your Business Manager and click “Next.”
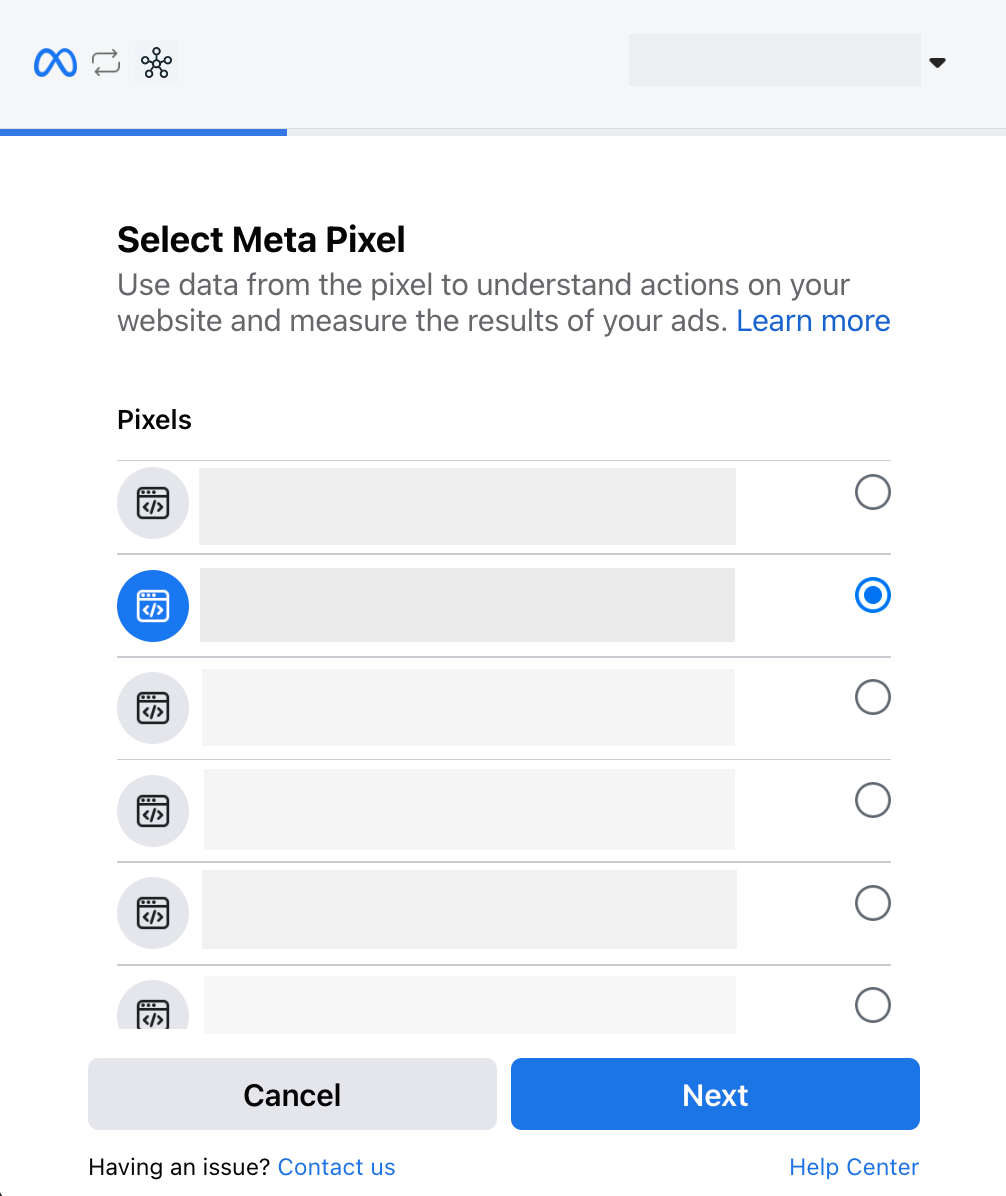
Select your pixel and click “Next.”
You’ll probably want to turn on Advanced Matching (it’s optional) and you can select which parameters to send. Then click “Next.”
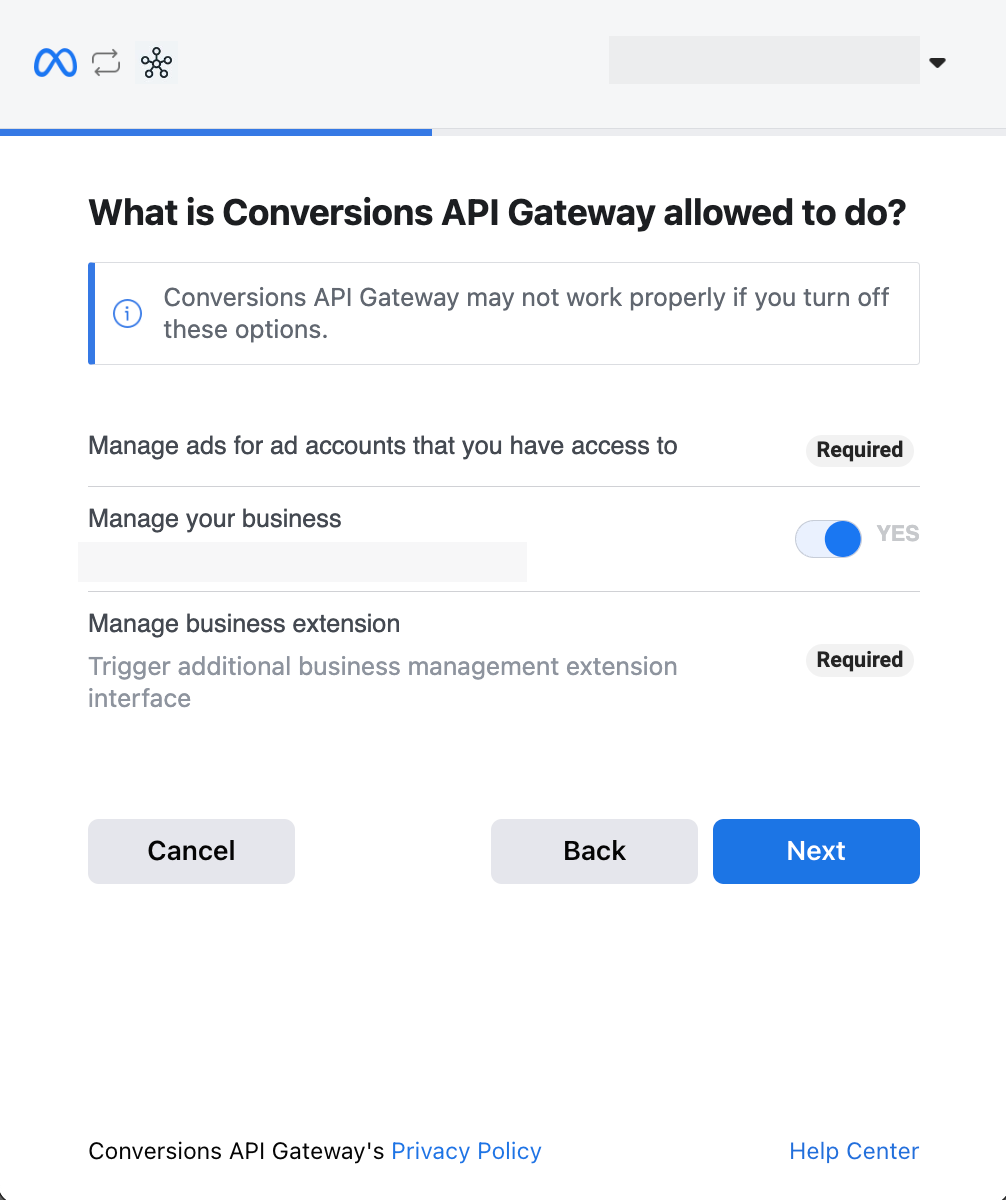
Accept these options and click “Next.”
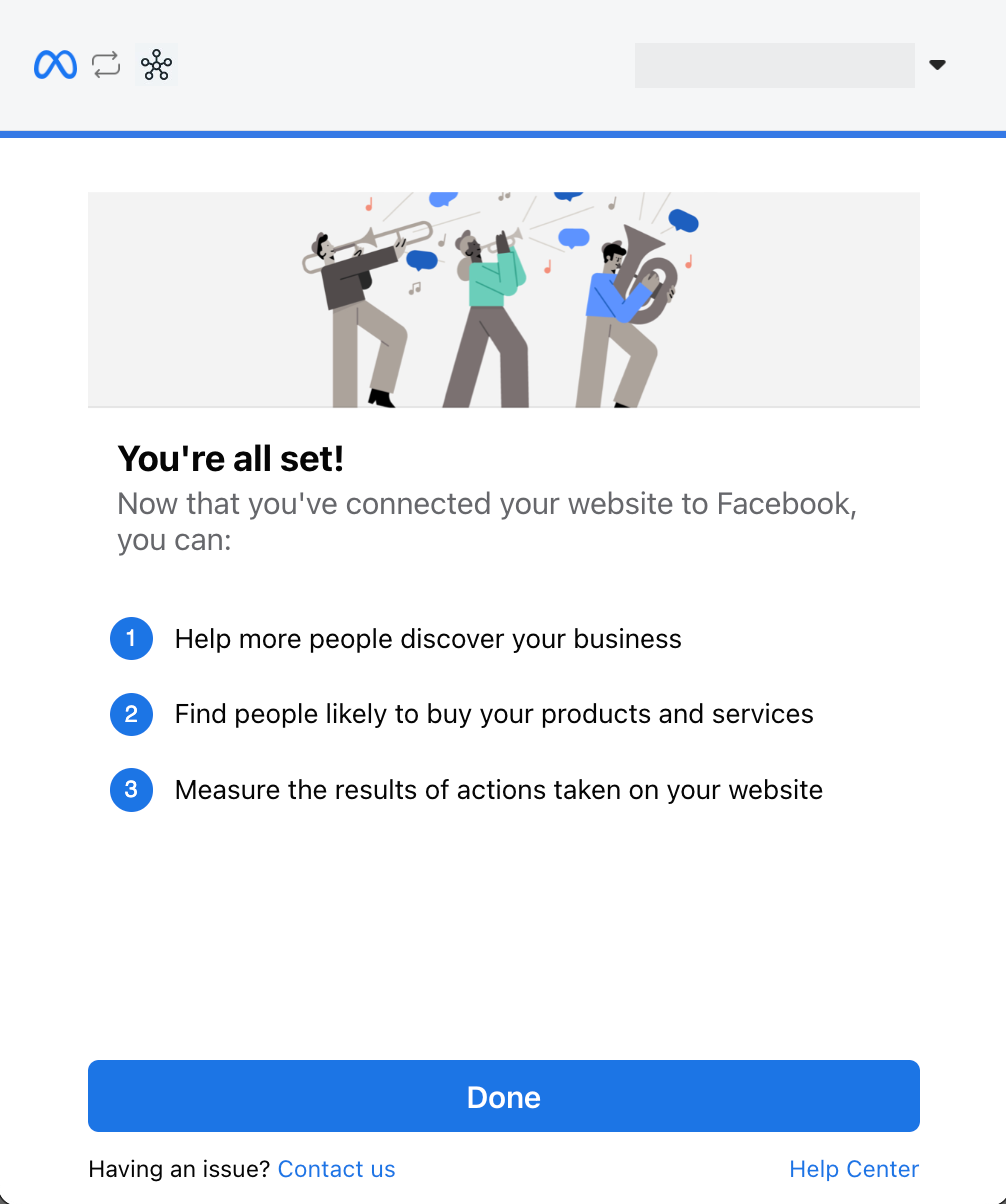
Woo hoo! You’re (almost) all set. Click “Done.”
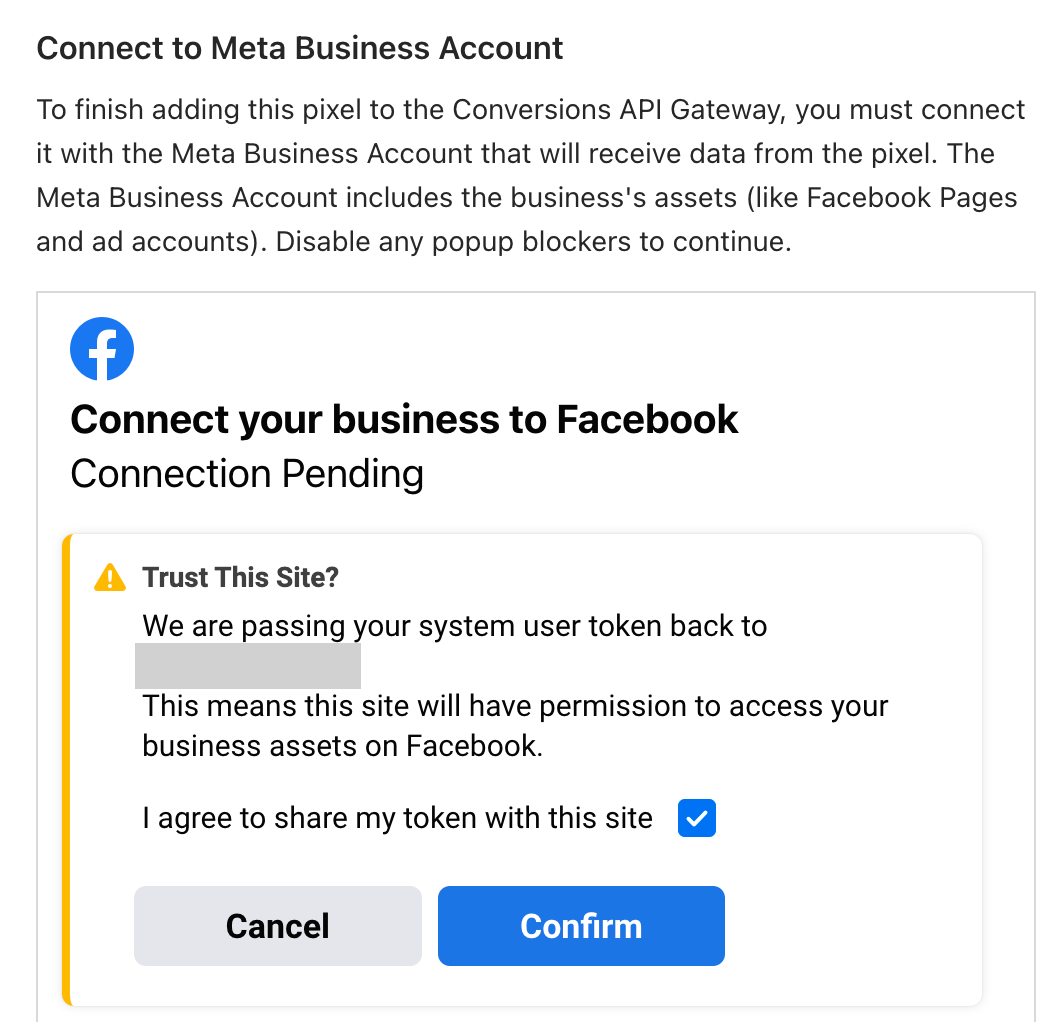
Finally, check the box to share your user token and click “Confirm.”
7. Wait for Data
You’re not going to see any data at first. It doesn’t matter how much refreshing you do on your website. You might even assume you set it up incorrectly. As long as some pages are loading on your website, just wait.
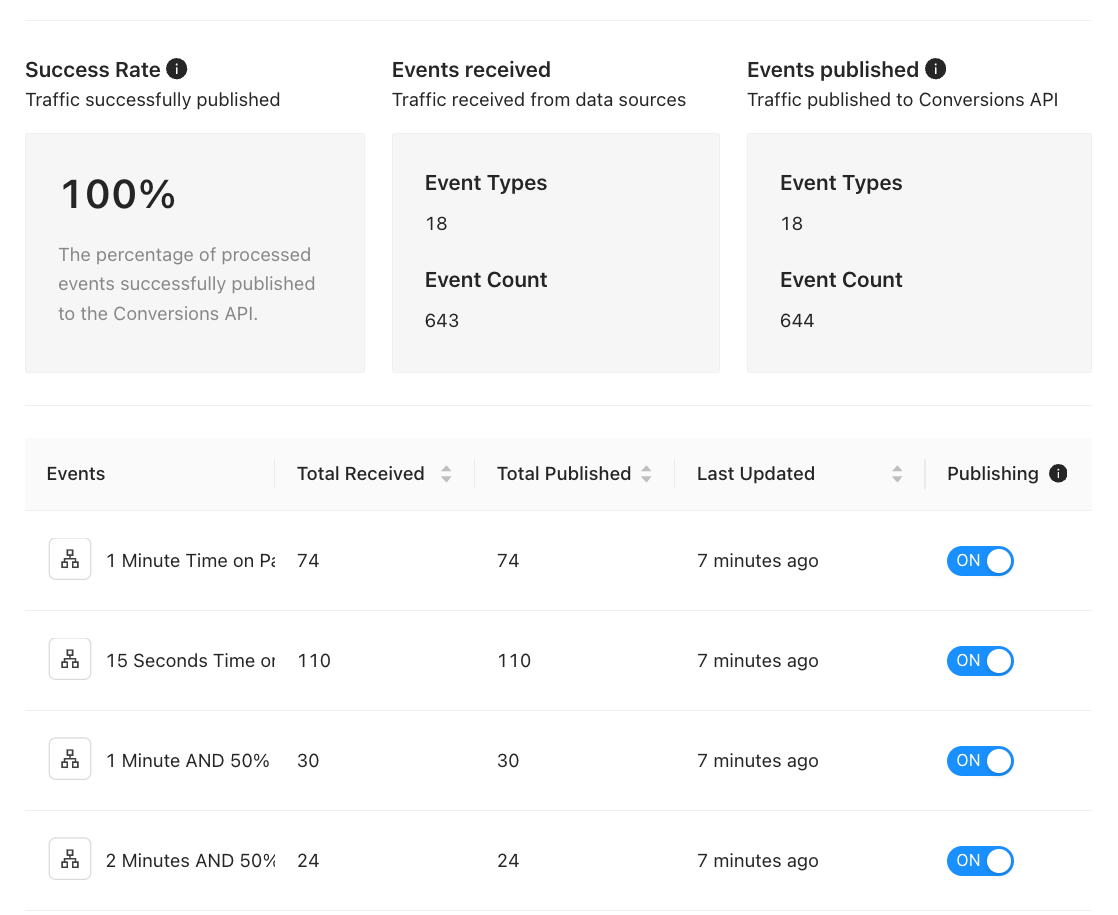
It can take up to 30 minutes. Eventually, you’ll see at the top that your events are firing.
Scroll down the page and you’ll see the actual events firing.
Verification and Deduplication
If you see events firing in your API Gateway, you should be good to go. But, you can also check the Overview page of your Events Manager.
You may want to wait a day on this one. You can view data from “Today” but the reporting can be quite delayed.
You should see “Multiple” under the Integration column (meaning browser pixel and API). If you expand any event, you should see separate lines for each.

What’s cool about the image above is that you can see the moment I switched to API Gateway. I was passing API events before, but they clearly weren’t as complete as they are now.
Oh, finally, you probably want to know about deduplication. You’re in luck. There’s absolutely nothing that you need to do. These events will automatically be deduplicated.
I know. Such a relief. Deduplication can be an absolute monster.
But that’s it! Conversions API is now set up and should run smoothly. Feel free to bookmark the page for the API Gateway just in case you need to check on it later.
Watch Video Tutorial
I also recorded this step-by-step video tutorial in case you need it. Watch it below…
Your Turn
Have you set up the Conversions API? How did you do it?
Let me know in the comments below!


