The easiest way to set up Conversions API is with the Facebook for WordPress plugin. And it also just happens to be free.
(If you need background on the Conversions API and why you need to set it up, make sure to check out this explainer.)
These are two major barriers for any publisher wanting to set up the Conversions API. Many of the options come with a monthly cost (like the API Gateway). Setting it up manually or with Google Tag Manager is also technical and complicated (at least if you’re not super technical yourself).
The truth is that I attempted to use the Facebook for WordPress plugin originally, and let’s get this out of the way first. It’s not a very good plugin. It’s clunky. It has very little value, and you are unlikely to use it for what Facebook seems to want you to use it for (apparently monitoring and setting up Facebook ad campaigns from your website??).
And actually, one reason that I originally abandoned the plugin is that I didn’t even realize it was connecting the API when it was. It’s just not the cleanest piece of design, but that doesn’t really matter.
If all you want is a simple solution that doesn’t cost anything, you are in luck.
Set Up the Plugin
First, go to your Events Manager. After selecting your pixel as the data source, go to the Settings.
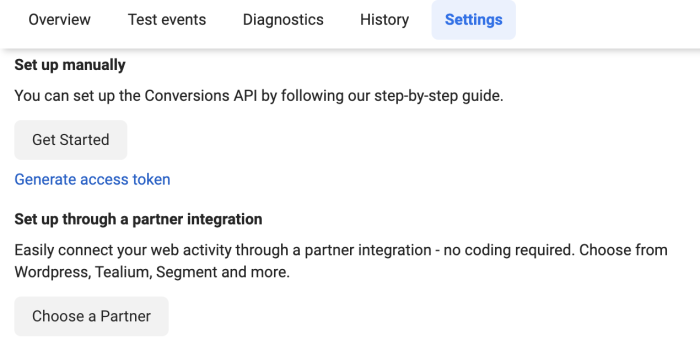
Select the option to Choose a Partner.
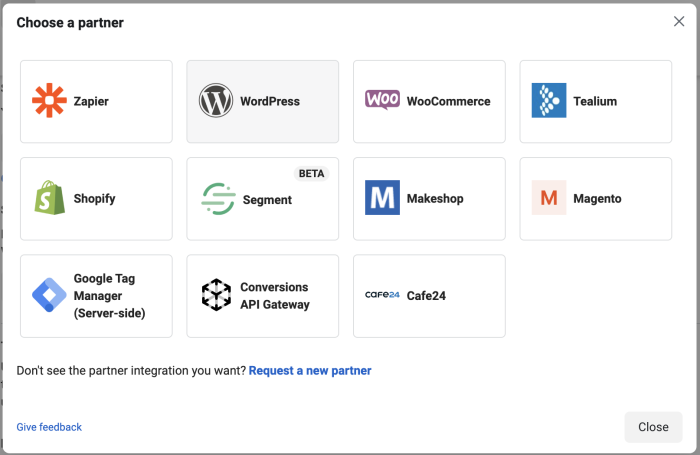
Select WordPress. You will then be taken through the steps of the install.
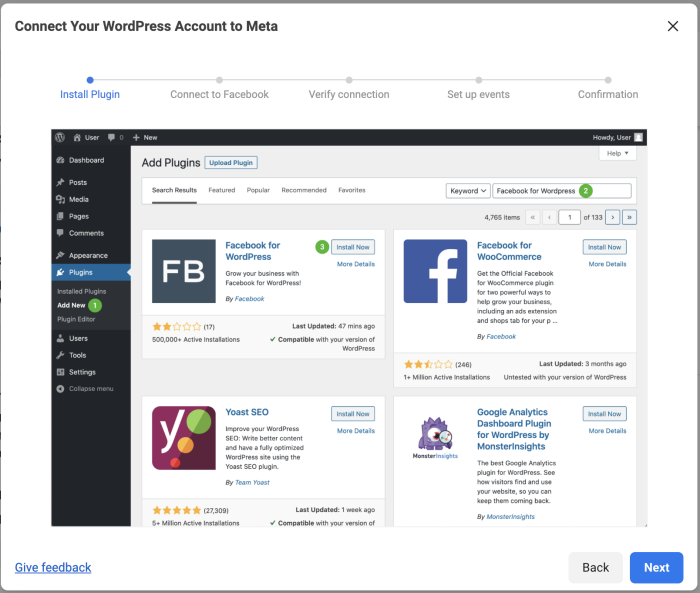
Go to the Plugins menu of your WordPress website and click to “Add New.” Search “Facebook for WordPress” (you can also download it here). Then install and activate the plugin.
After activated, head over to the plugin’s settings and click “Get Started.”
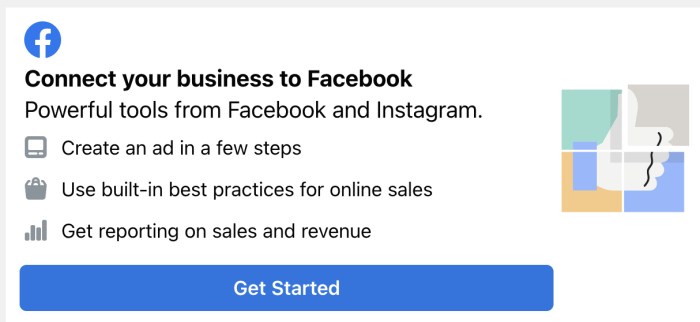
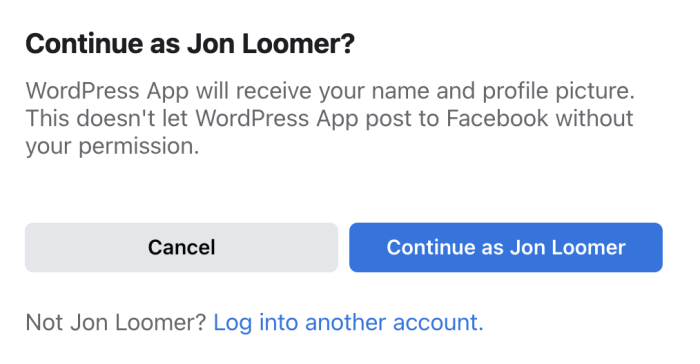
You’ll need to log into your Facebook account.
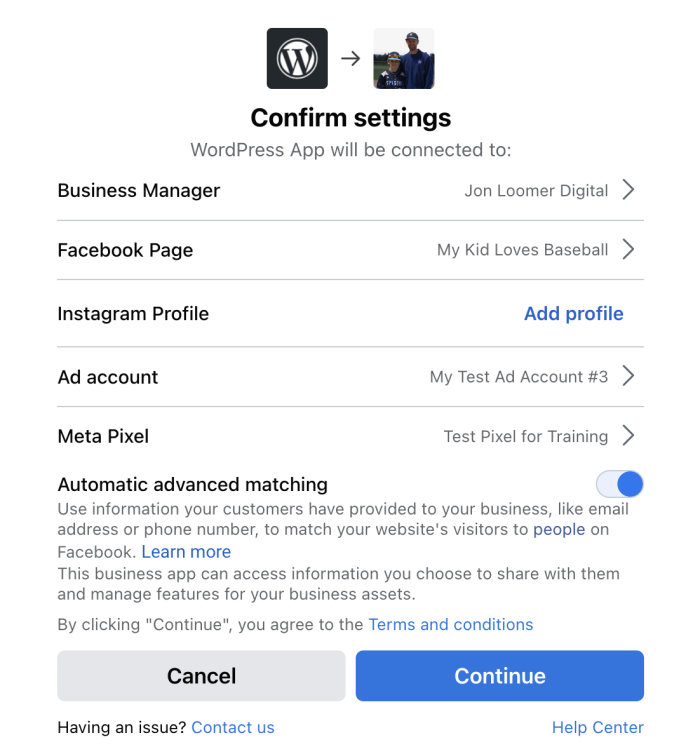
You’ll then need to select your Business Manager, Facebook Page, Instagram Profile, Ad Account, and pixel.
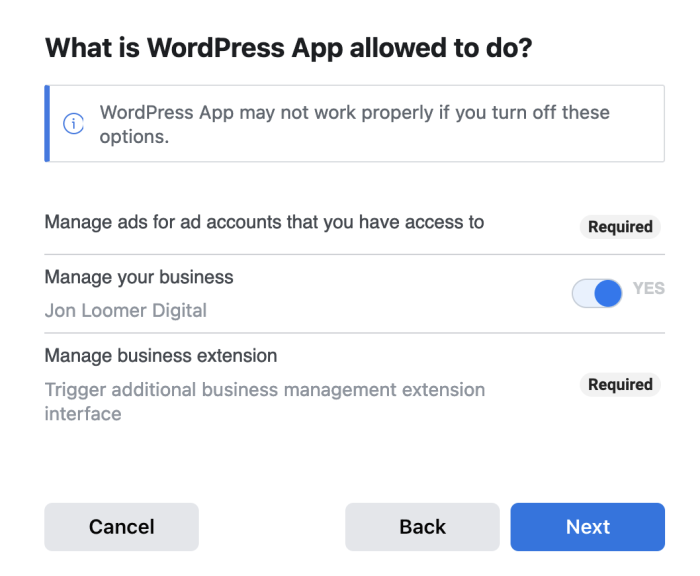
I keep “Manager Your Business” on, but I’m not sure whether turning it off would impact access to connecting the API.
Here’s the important part. You may need to refresh your WordPress page to see this…
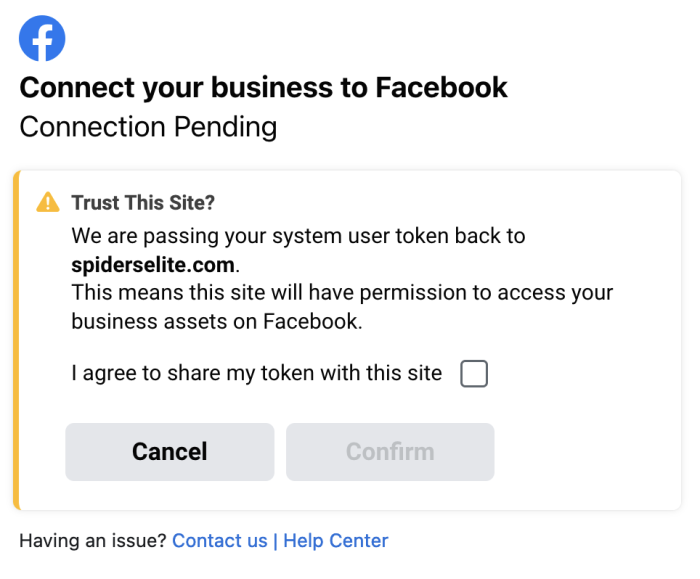
The token is what’s used for the API. You’ll want to check this box.
After you confirm, go ahead and refresh the page again (yeah, not particularly dynamic). You should then see a box checked that you’re sending web events using the Conversions API.
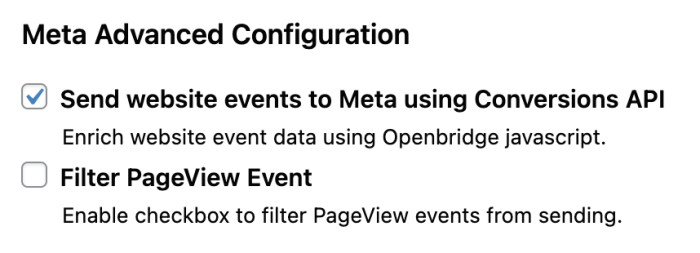
You’re done!
What Will Happen Now?
Yes, that’s it. You don’t need to set up new events. Facebook will merely use your current pixel and any events you’ve set up and also send events via a server.
In other words, I hope you’ve already set up standard and custom events to track important actions on your website. Connecting the API will then piggyback off of those events.
Facebook will then receive two sets of events from you: 1) from your browser and 2) from your server. Facebook will then deduplicate those events so that nothing is counted twice.
Confirm It’s Working
You’ll need to resist the urge to immediately check on whether events are sent using the API. It may not show up for a few hours. I’d wait a day. And, of course, what you see may depend upon the amount of traffic you get and the events you’ve set up.
Then go to your Events Manager again and select the pixel as your event source. The column for Connection Method should include both Browser and Server.
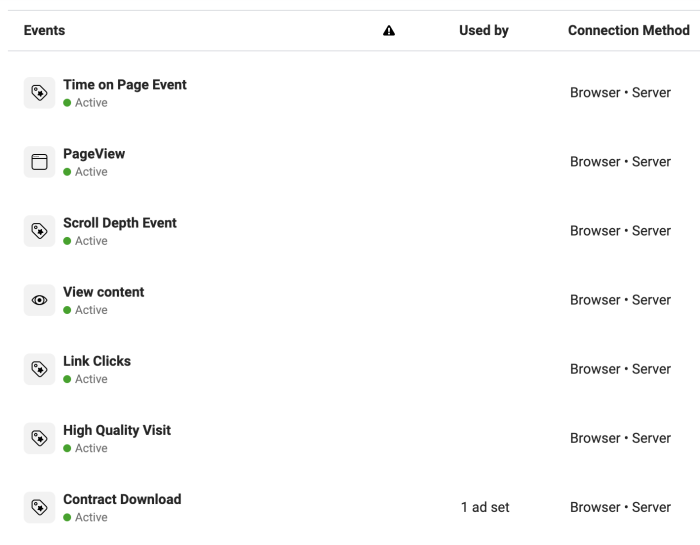
If you only see Browser, it could be because that event has not happened yet since you connected the API.
Once you see the Server is sending events, that’s it! There’s really nothing left for you to do.
Your Turn
There may be some advantages for using the more technically sophisticated (and expensive) options, but this is a simple and free approach that will get you off the ground.
Have any questions? Let me know in the comments below!

