Last week, I provided you with a step-by-step for how to create a Facebook Canvas contact form. But once you create these ads, how do you collect the leads? And how do you target those who engage with these forms?
If you’ve created Facebook lead ads before, you’re familiar with the process of collecting those leads. You have to manually download a file consisting of your leads, unless you use a third-party tool to sync them to your CRM. This will be similar, though not the exact same process.
Today, I’ll walk you through both the manual and automated processes of collecting your leads after creating a Facebook Canvas with a contact form. After that, we’ll cover how to create audiences of those who engaged with these Canvas contact forms so that you can target or exclude them later.
1. Manually Collect Leads Through Ads Manager
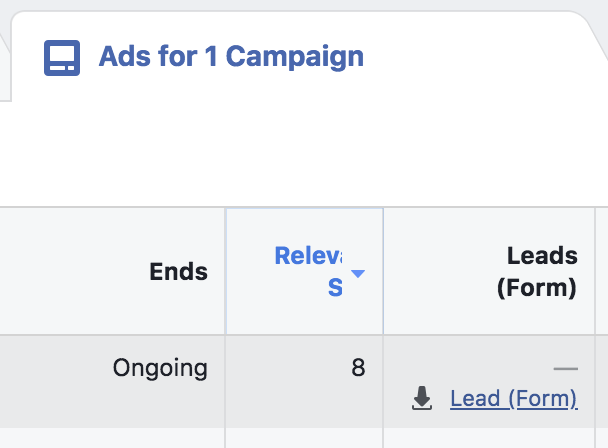
Once you launch your campaign and the ads are active, you will be able to view the number of leads that have resulted from it within Ads Manager. When viewing the “Ads” tab, there should be a column for “Leads (Form).”
If you can’t find this column within the “Ads” tab, click to customize columns…
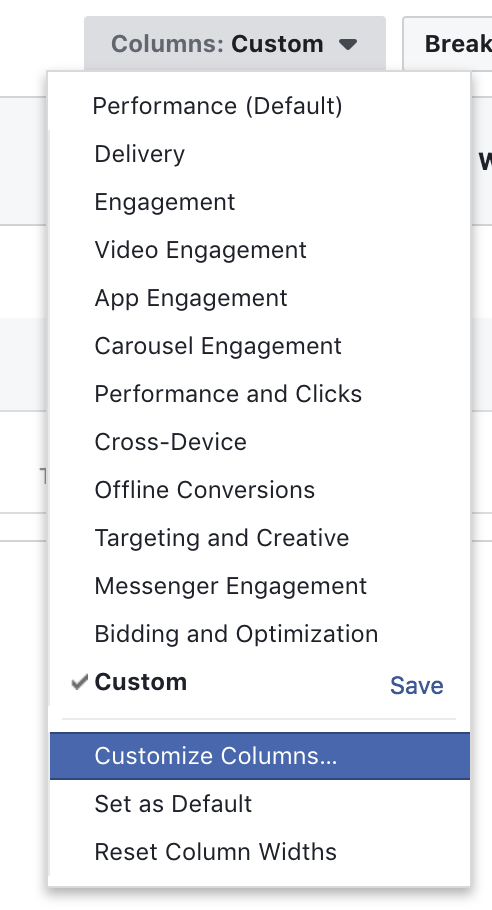
Then run a search for “leads (form)” to find that data and check the box.

That column will then be added to your report.
When viewing this column in your reports, you’ll notice a link with a download icon next to it (see the first image above). Click that, and you’ll download an XLS file of your leads.
2. Manually Collect Leads Through Publishing Tools
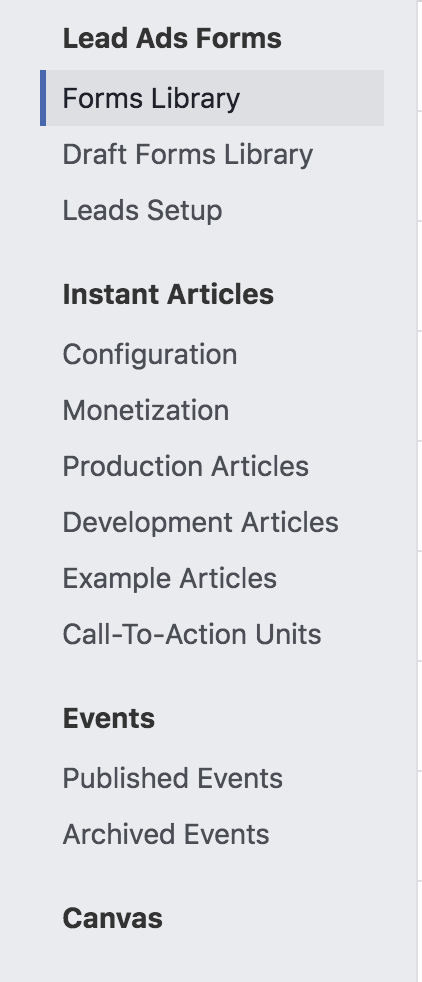
Typically, you’ve accessed leads from lead ad forms by going to your Publishing Tools as a Facebook page admin…

And then you’d click on “Forms Library” under “Lead Ads Forms.”
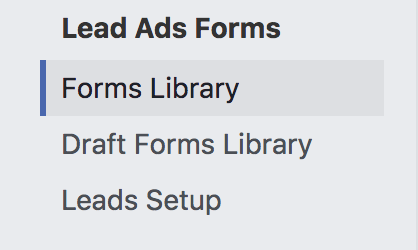
However, you won’t see your contact forms from a Facebook Canvas here. Instead, you’ll see a message…

You can either click the “Canvas Section” link in that alert or click “Canvas” on the bottom of the left-hand menu.
Here, you’ll see a list of the Canvases you’ve created. If a Canvas includes a contact form, you’ll see a button next to it with the number of collected leads.

If you click that button, you’ll download those leads into an XLS file.
3. Automatically Sync Leads With Zapier
Of course, manually downloading these leads is a pretty major pain — especially if you collect a high volume of them. Luckily, you can implement the same automated processes that you use for Facebook lead ads to sync them to your CRM.
I personally use Zapier for this (not an affiliate link). While the process is mostly identical, there are some minor annoyances at the moment that I want to help you with.
Keep in mind that undoubtedly there are many different third-party tools that will help you sync your leads from Facebook Canvas contact forms (and lead ad forms). But I use Zapier, so we’ll start there.
When you create a Zap, you’ll first need to select Facebook Lead Ads as your trigger app…
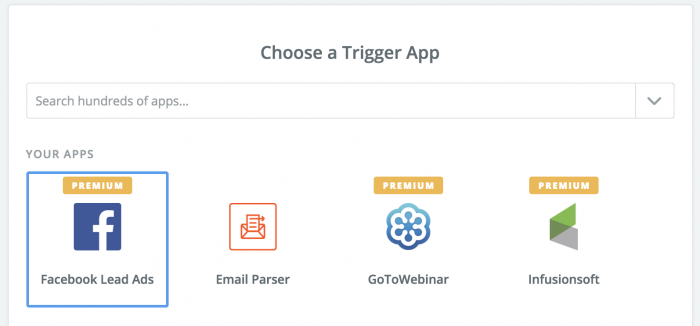
Note that this is only available within the premium package. So if you don’t have that, you’ll need to upgrade (sorry).
For the most part, setting up this Zap is how you would sync lead ad contacts to your CRM. But there is one issue with these new contact forms associated with a Canvas: These aren’t unique forms that you name, but unique posts. And you don’t name these posts.
You’ll see what I mean when you go in to select the form to sync…
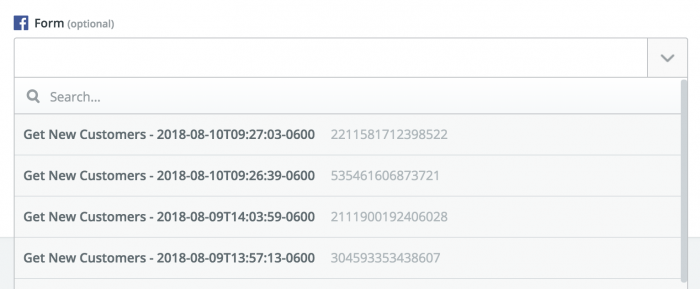
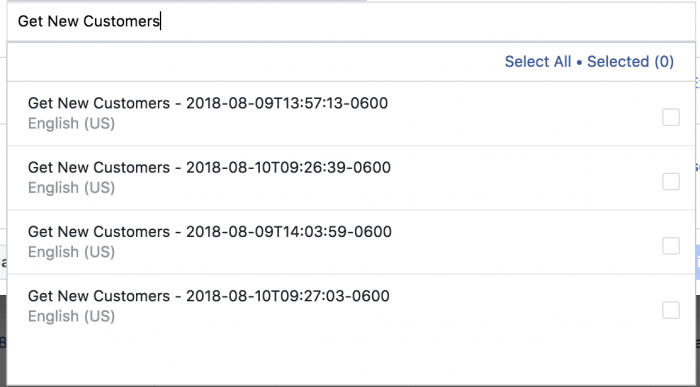
Uhhhh… So, which one is it?? I honestly have no idea. And the weird thing is that I haven’t created four of these things in the first place.
As you can see, these names are auto-generated. You don’t name them, which would make selecting the form a whole lot easier.
To find which form is which, go into Ads Manager and edit your ad. You’ll see the auto-generated name of the Canvas there.
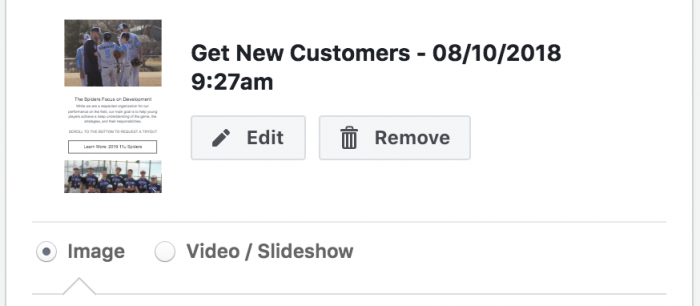
Alert readers will notice that this name is not identical to anything that was in the drop-down within Zapier. But the key is that it is date/time stamped as 08/10/2018 at 9:27am. The first form in the Zapier drop-down was for that same date/time.
From here, you’d create an action in Zapier to sync these new leads to your CRM. We won’t cover that here, but again you can see my post on creating Zaps for lead ad contacts for more.
4. Target Leads with Engagement Custom Audiences
Another logical next question is this: Can you target those who have opened or submitted these forms, as we can with those who engage with lead ad forms?
YES!
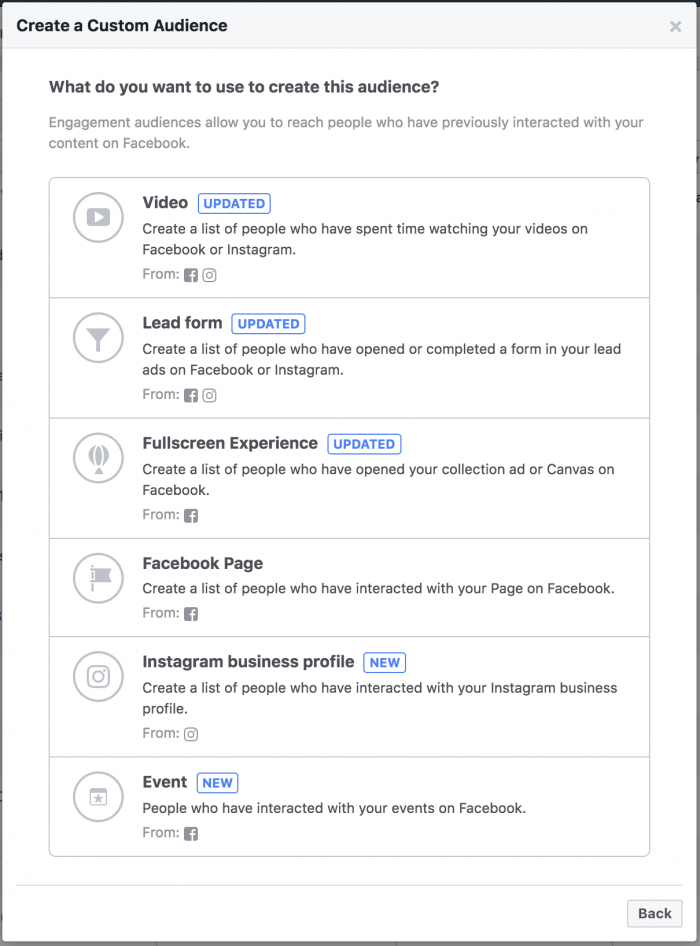
It’s the same process. When creating a Custom Audience, select “Engagement”…
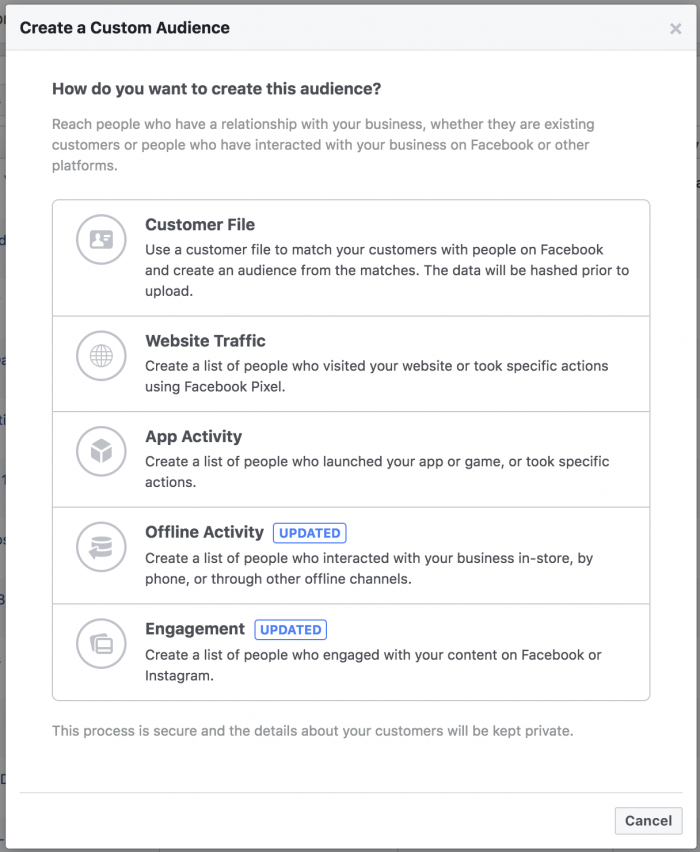
Next, select “Lead form”…
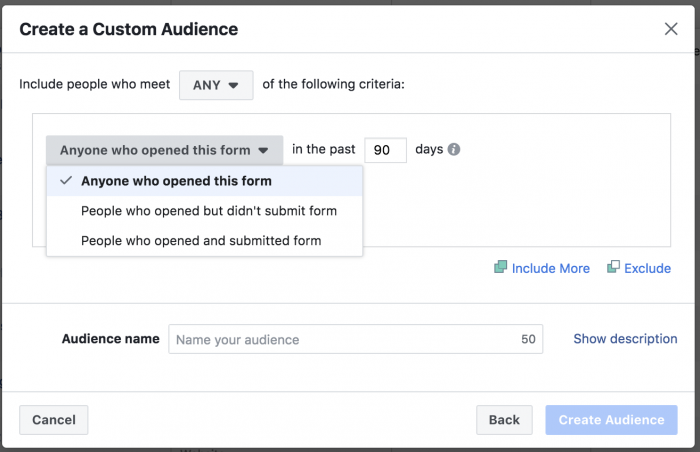
After selecting your page, you’ll have the option to create an audience of people who have opened a specific form, opened but didn’t submit a specific form, or opened and submitted a specific form.
When you search for “Get New Customers,” you should see the forms you’ve created within Facebook Canvas.
Keep in mind that you can also create an audience of those who opened or clicked a link within a specific Canvas (regardless of whether they opened a form). That’s the “Fullscreen Experience” option from above.
You’ll have the options of people who have opened a specific Canvas or people who have clicked links within a specific Canvas.
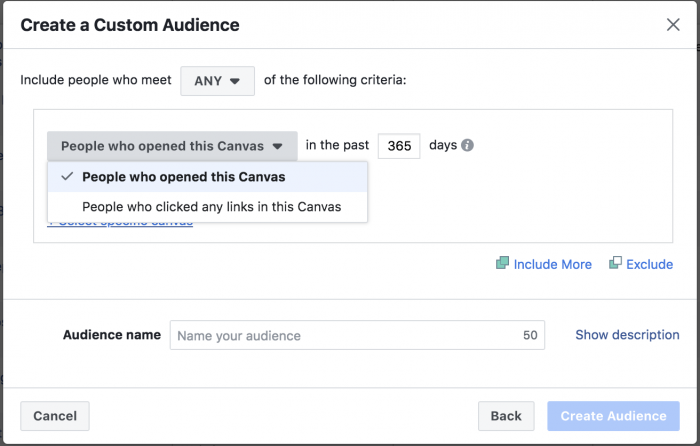
You’ll need to select a specific Canvas. Once again, search for “Get New Customers” and you should find it.
For more information on either of these types of Custom Audiences, I’ve written tutorials on Lead Ad Form Custom Audiences and Canvas Custom Audiences.
Your Turn
It’s very possible that this process will change and improve during the coming weeks and months, but this is how it works for now. Have you started collecting leads this way yet? How is it working for you?
Let me know in the comments below!


