Any screenshots and details of functionality may no longer be relevant. Below are some related posts that are more current:
- How to Approach Meta Ads Targeting Now: A Detailed Guide (Jun 30, 2025)
- Advantage+ Campaign Creation: A Complete Guide (Jun 23, 2025)
- Use Value Rules to Improve Lead Quality (Jun 5, 2025)
I strongly encourage that you use Facebook Power Editor to create your Facebook ad campaigns. It provides many features not available within the self-serve ad tool, and it also makes bulk editing a snap.
One of the activities that can take the most time when creating many different ads within a campaign (you need to split test!) is the creation of audiences.
When you create an ad, you need to determine the following targeting:
- Countries, states and cities
- Ages
- Genders
- Precise Interests
- Partner Categories
- Broad Categories
- Connections
- Custom Audiences and Excluded Audiences
- Interested In
- Relationship
- Languages
- Education
- Workplace
That’s a lot of stuff! And if you’re creating a few dozen ads, it’s going to be a major pain to do this for each one!
Luckily, you can create Saved Audiences (also known as Saved Target Group) so that you can easily select an audience that you’re going to use over and over. This will save a ton of time!
1. Create Audience Using Ad
A shortcut to the creation of a saved audience is to simply find an ad that represents the audience you want to use.
Within that ad, click the button that reads “Create Audience Using Ad.”
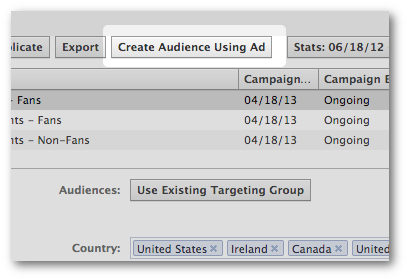
After that, you will probably want to change the name of the audience (by default, it will be the name of the ad it was saved from) for easy reference in the future.
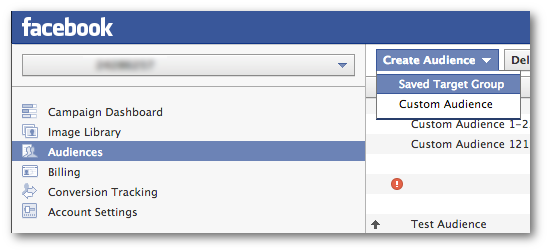
2. Create Audience From Scratch
Otherwise, you can create an audience from scratch. Simply click “Audiences” on the left and then “Saved Target Group.”
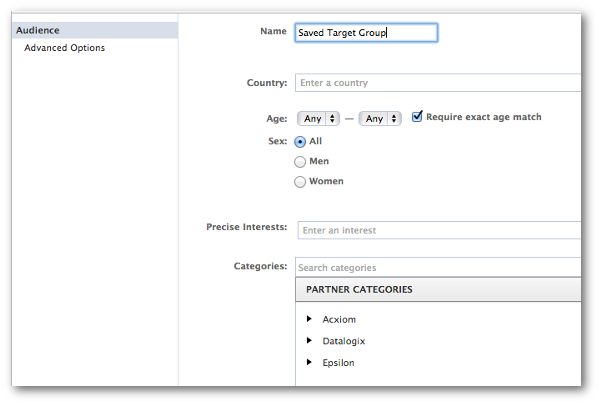
You then create the audience in nearly the same manner you would when creating an ad…
3. Use the Audience
Now when you create an ad, go to “Audience,” click “Use Existing Targeting Group” and select the audience you had saved.
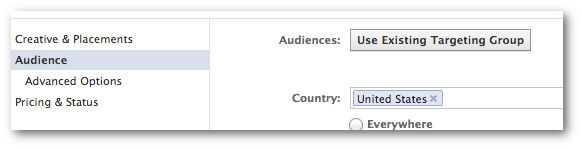
Piece of cake!
Need some help? Watch the video at the top!


