If you’re an e-commerce brand that utilizes Meta ads to promote your products, you’ve either experimented with or heard about Advantage+ Shopping campaigns. They are unique, and the reports on performance have largely been positive.
While I don’t have your typical e-commerce brand, I’ve been waiting to get my hands on this. For months, I’ve heard advertisers rave about the results, and I could only live vicariously through them. I finally have access, and you might as well.
Let’s create an Advantage+ Shopping campaign…
What Are Advantage+ Shopping Campaigns?
First, some background is in order…
Advantage+ shopping campaigns leverage machine learning with a focus on driving online sales. They streamline the process of setting up your campaign. Many of the settings we’re used to customizing are locked presets.
Meta sees this as different than manually creating your campaigns for more reasons than the streamlined setup. Instead of setting up several different campaigns with varying optimization, targeting, and creative options, you can only create up to 8 Advantage+ shopping campaigns per country. Meta says that this gives its system more opportunities to reach people likely to purchase your products.
Your typical sales campaign will have at least two ad sets: One for prospecting new customers and one for current customers. Advantage+ Shopping combines them in one campaign.
Performance is largely based on reputation at this point — especially for me since I’m just now getting first-hand experience with it. The selling point has been how much more powerful the machine learning is for these campaigns with the primary focus of sales performance.
Meta says that, on average, brands have seen a 12% reduction in Cost Per Action and 15% increase in Return on Ad Spend (ROAS) compared to manual campaigns. So, let’s try them out!
1. Create a Campaign
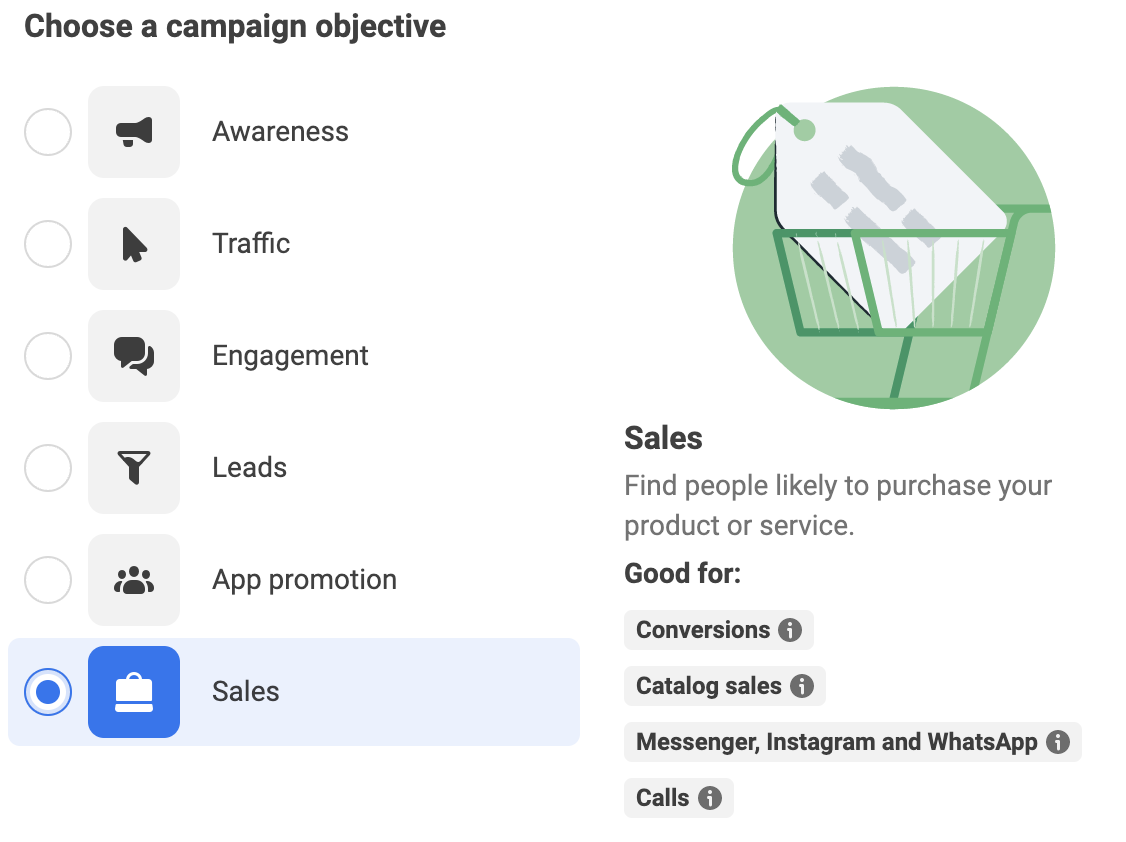
From Ads Manager, click to create a new campaign. Then make sure to select the Sales objective and click “Continue.”
If you have Advantage+ Shopping, you will immediately see this…
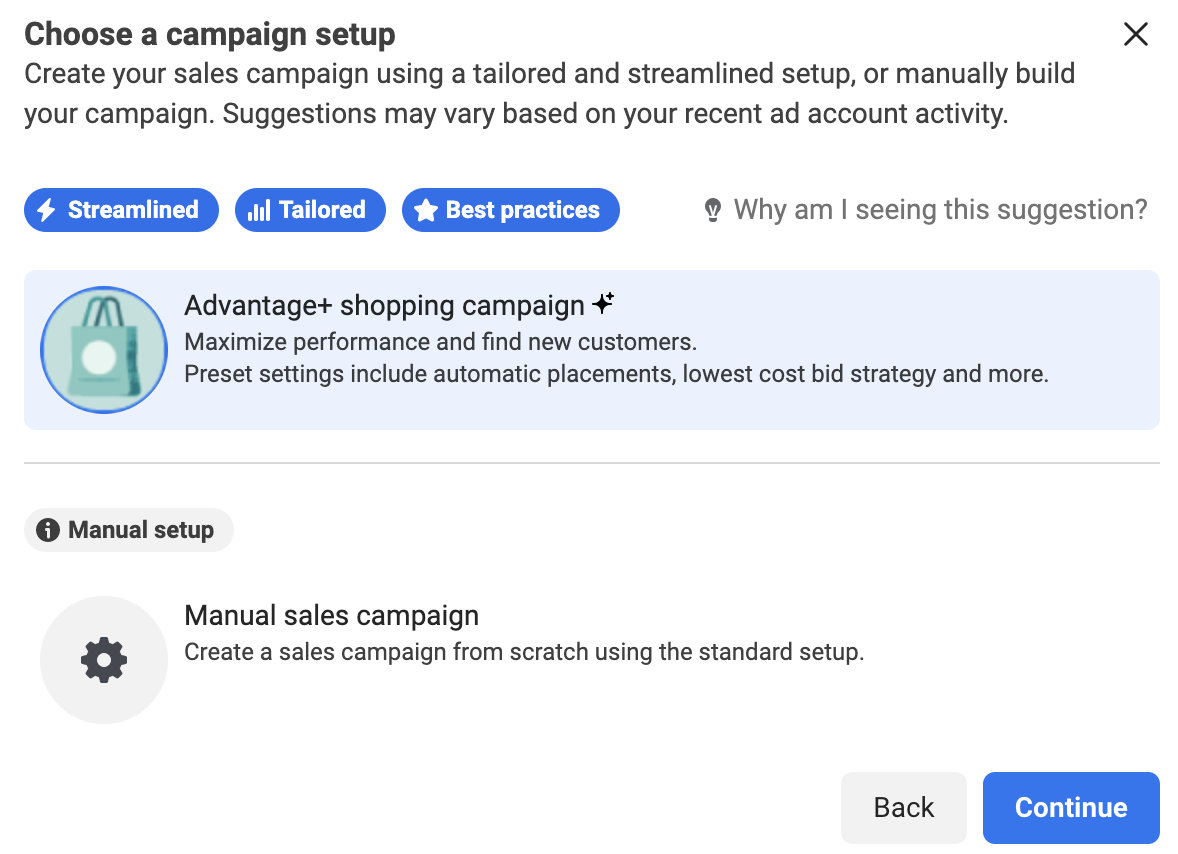
You may have seen a similar prompt in Tailored Leads or other Advantage+ campaign tests. The concept has been around for more than a year. The primary benefit of tailored campaigns is that they are easier to set up — defaults are frozen and can’t be changed.
But, Advantage+ Shopping is more than that.
Click “Continue.”
2. Preset Settings
Creation of this campaign will be streamlined. There’s very little you’ll need to do until you create your ad. There are several settings that you will not be able to change.
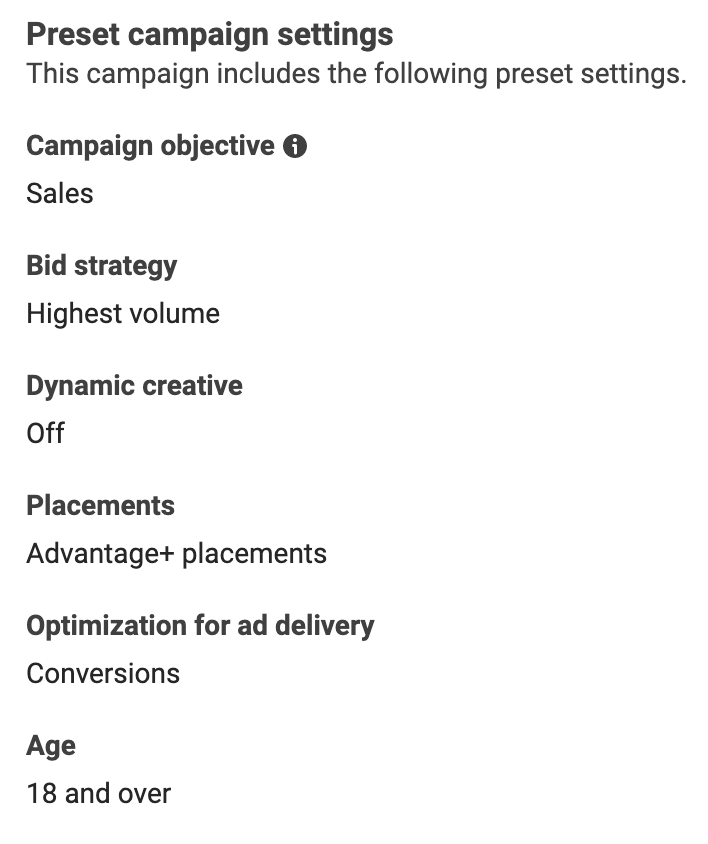
If you like customizing your objective, optimization, bid strategy, placements, and age group, you’re going to be disappointed. You also can’t utilize Dynamic Creative.
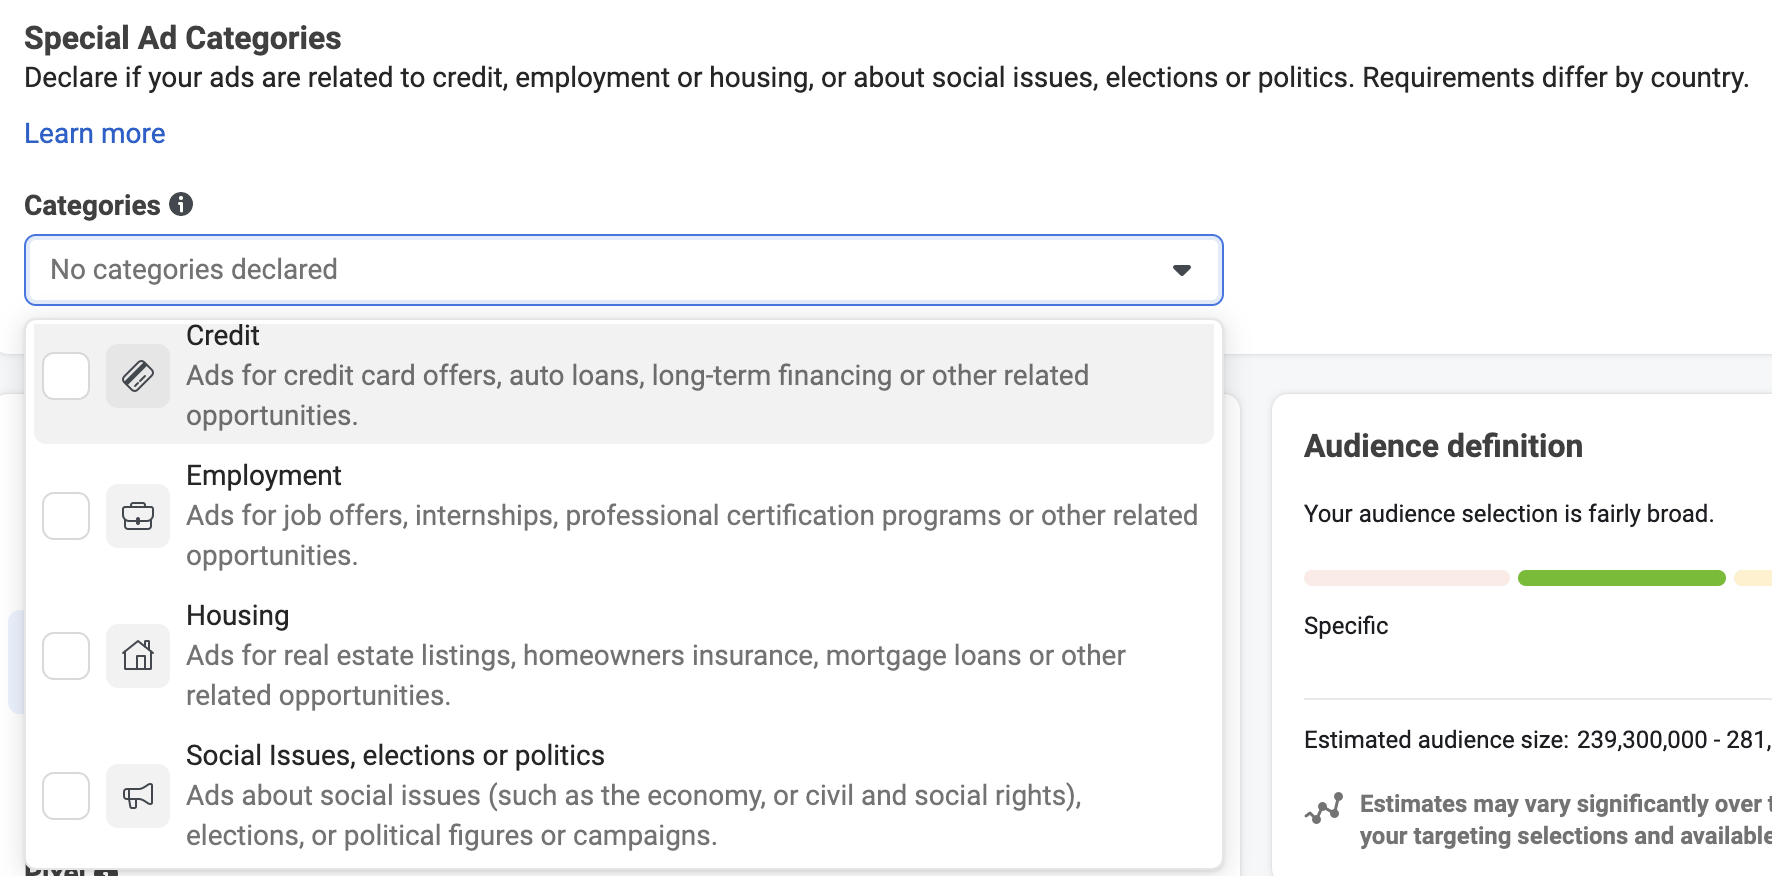
3. Special Ad Categories
If you’re looking to promote a product that falls within credit, employment or housing, or special issues and politics, you’re not disqualified from using Advantage+ Shopping.
Just select your category before moving forward…
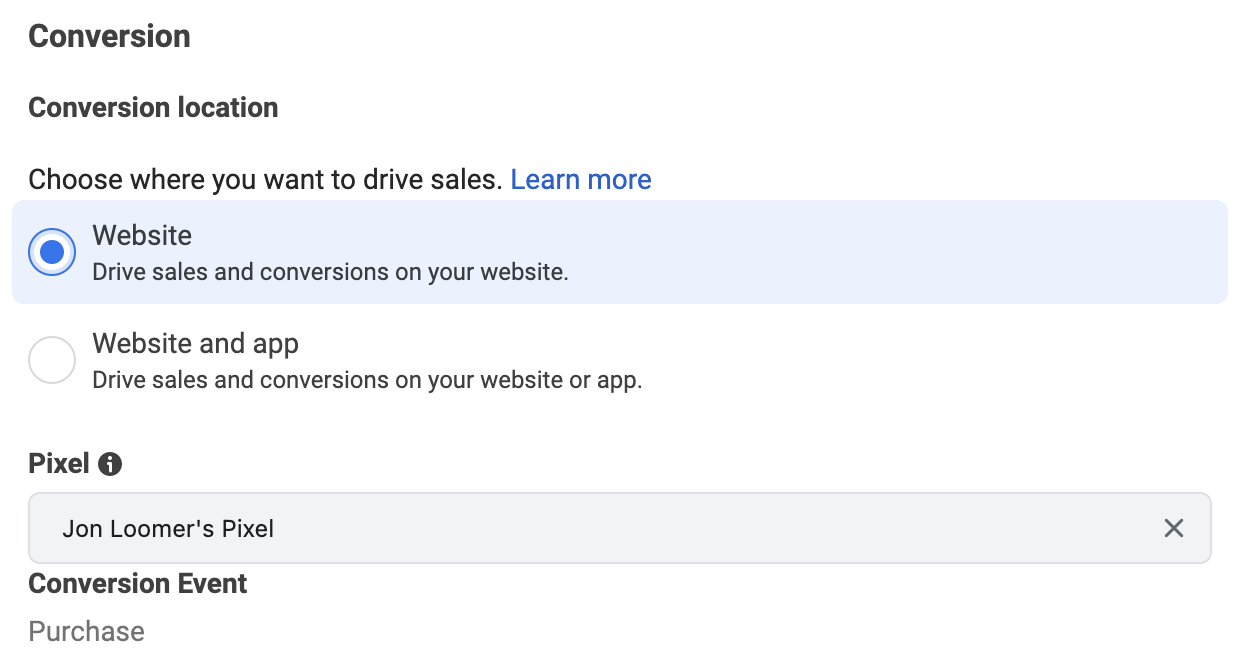
4. Conversion Location
Select either “Website and App” or “Website.” Then select your pixel and app (if applicable).
5. Country
If you like to target refined groups, Advantage+ Shopping isn’t for you. The only option is to define by country.
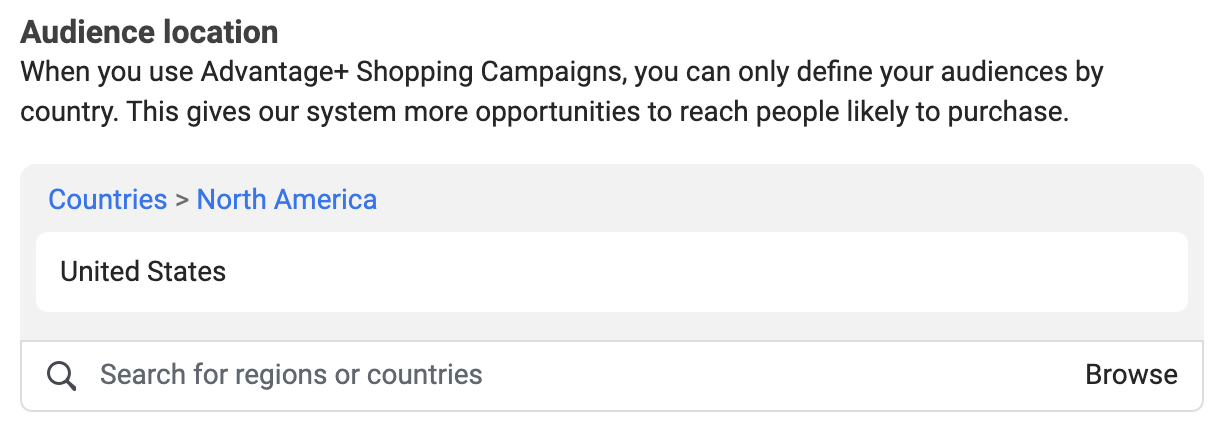
You can’t select states or cities, even for exclusion purposes.
6. Reporting
I know this feels like we’re jumping ahead, but it’s actually next in the creation of this campaign.
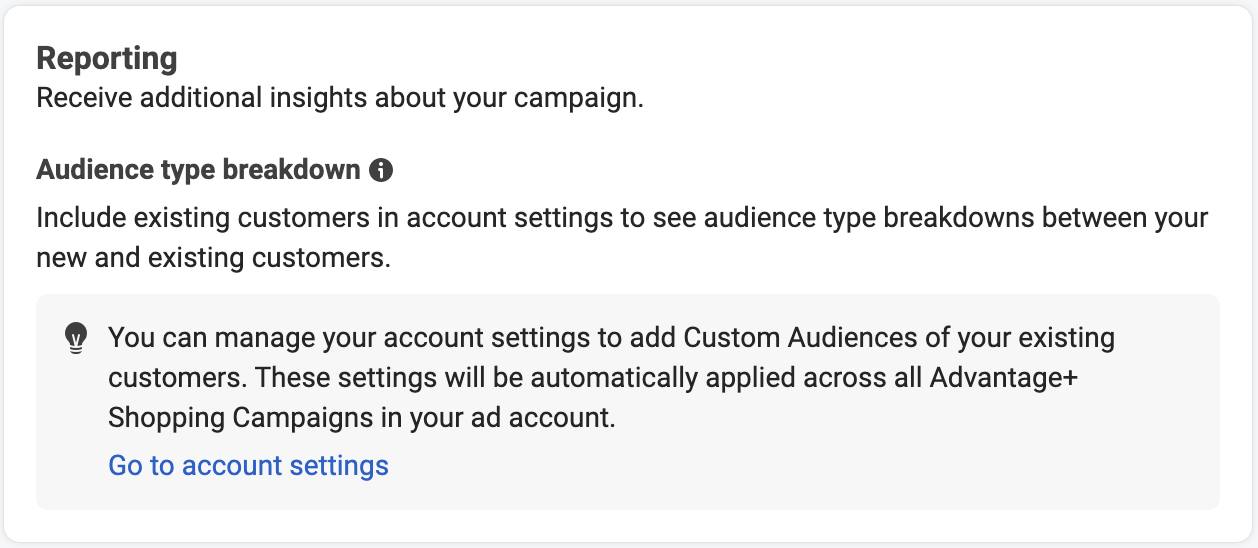
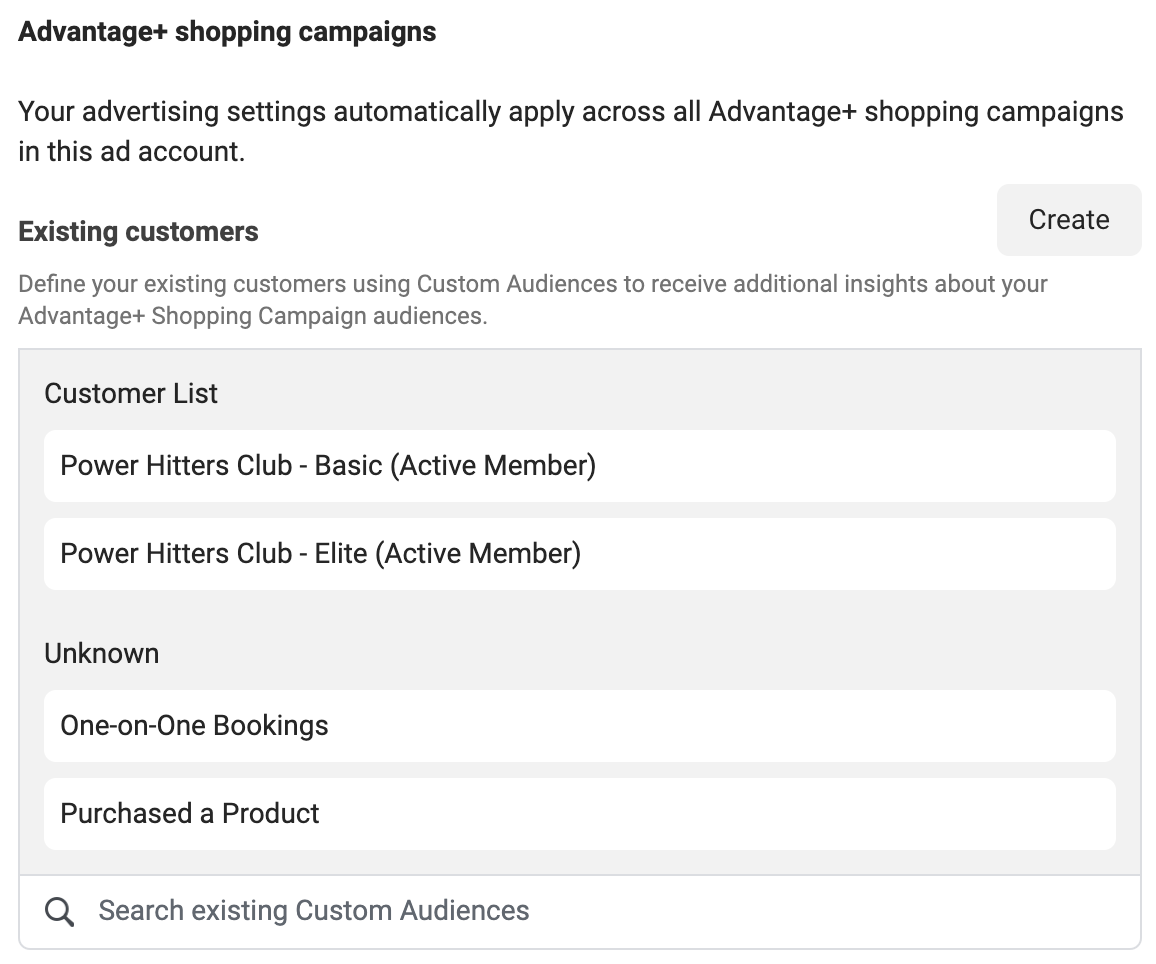
This is one of the things that makes Advantage+ Shopping unique. We will define our current customers so that Meta will know if a person who was reached is a current customer or new customer (current customers aren’t excluded).
To define that audience, click the link to go to your Account Settings. It will look like this…
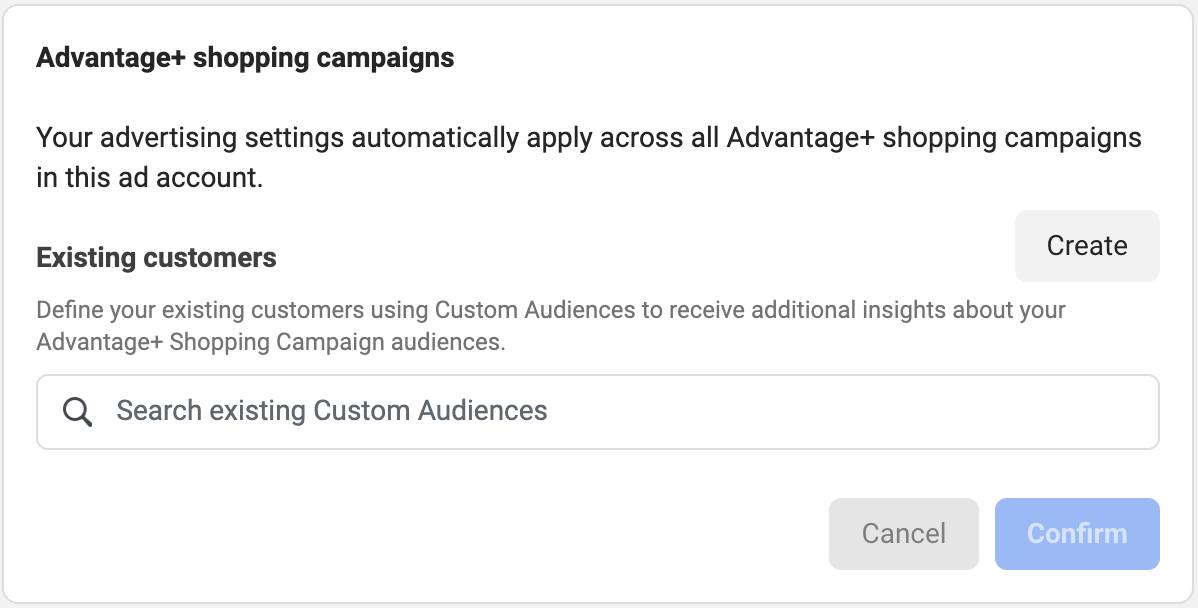
You can select from or create new custom audiences to define your current customers (based on website, app, catalog, customer list, shop, or offline activity). I did this using both data custom audiences and website custom audiences.
7. Tracking
Again, while we’re here in the Account Settings, let’s address what’s immediately under your current customers.
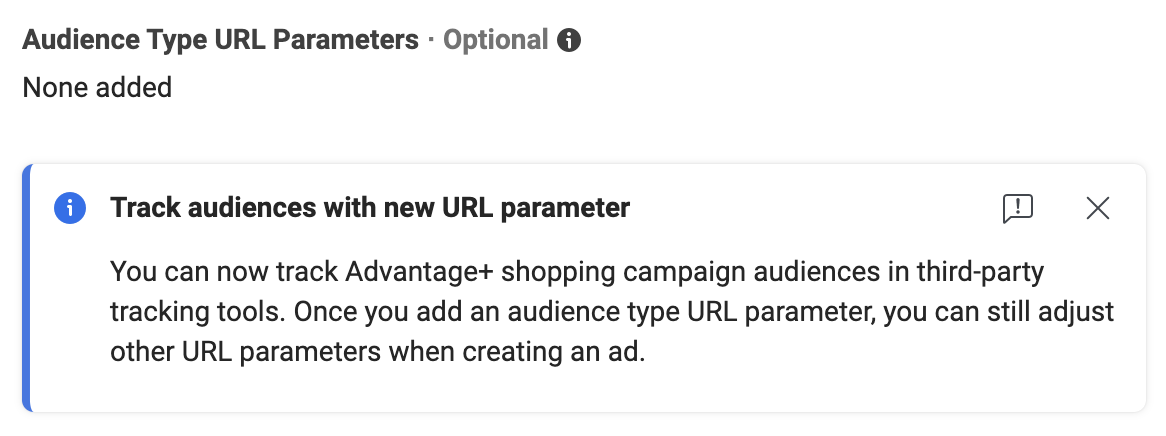
What’s really interesting about this is that you can create different URL parameters for current customers and new customers.
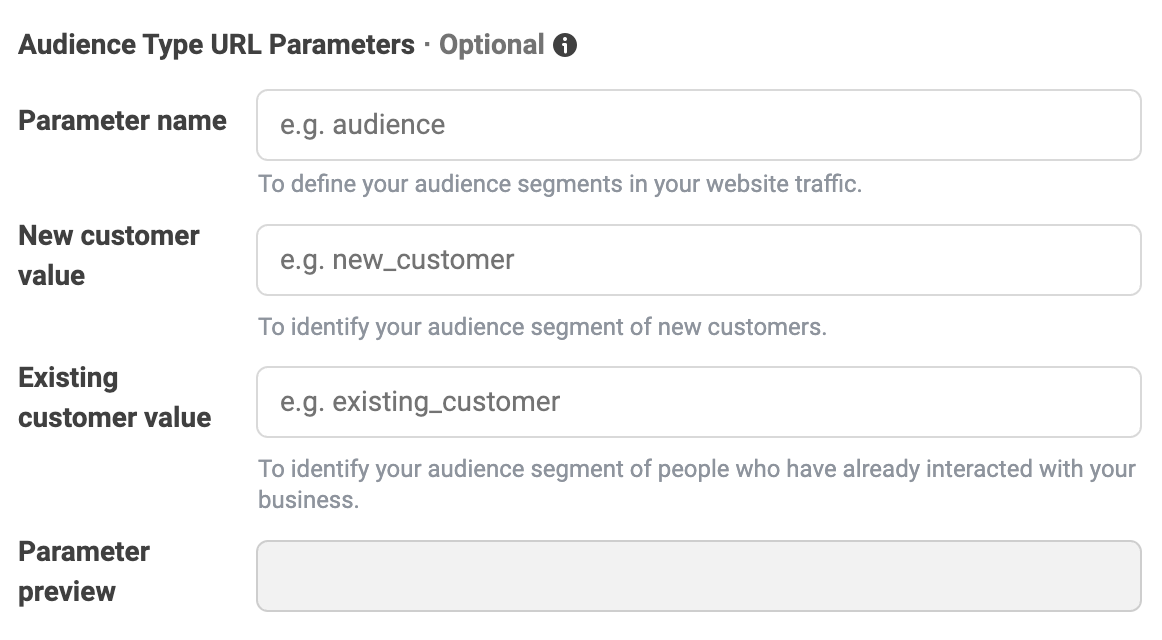
What you do with this is up to you. You’d need to utilize some sort of third-party analytics tool, like Google Analytics.
8. Budget & Schedule
At first glance, there’s nothing different here than what you’re used to…
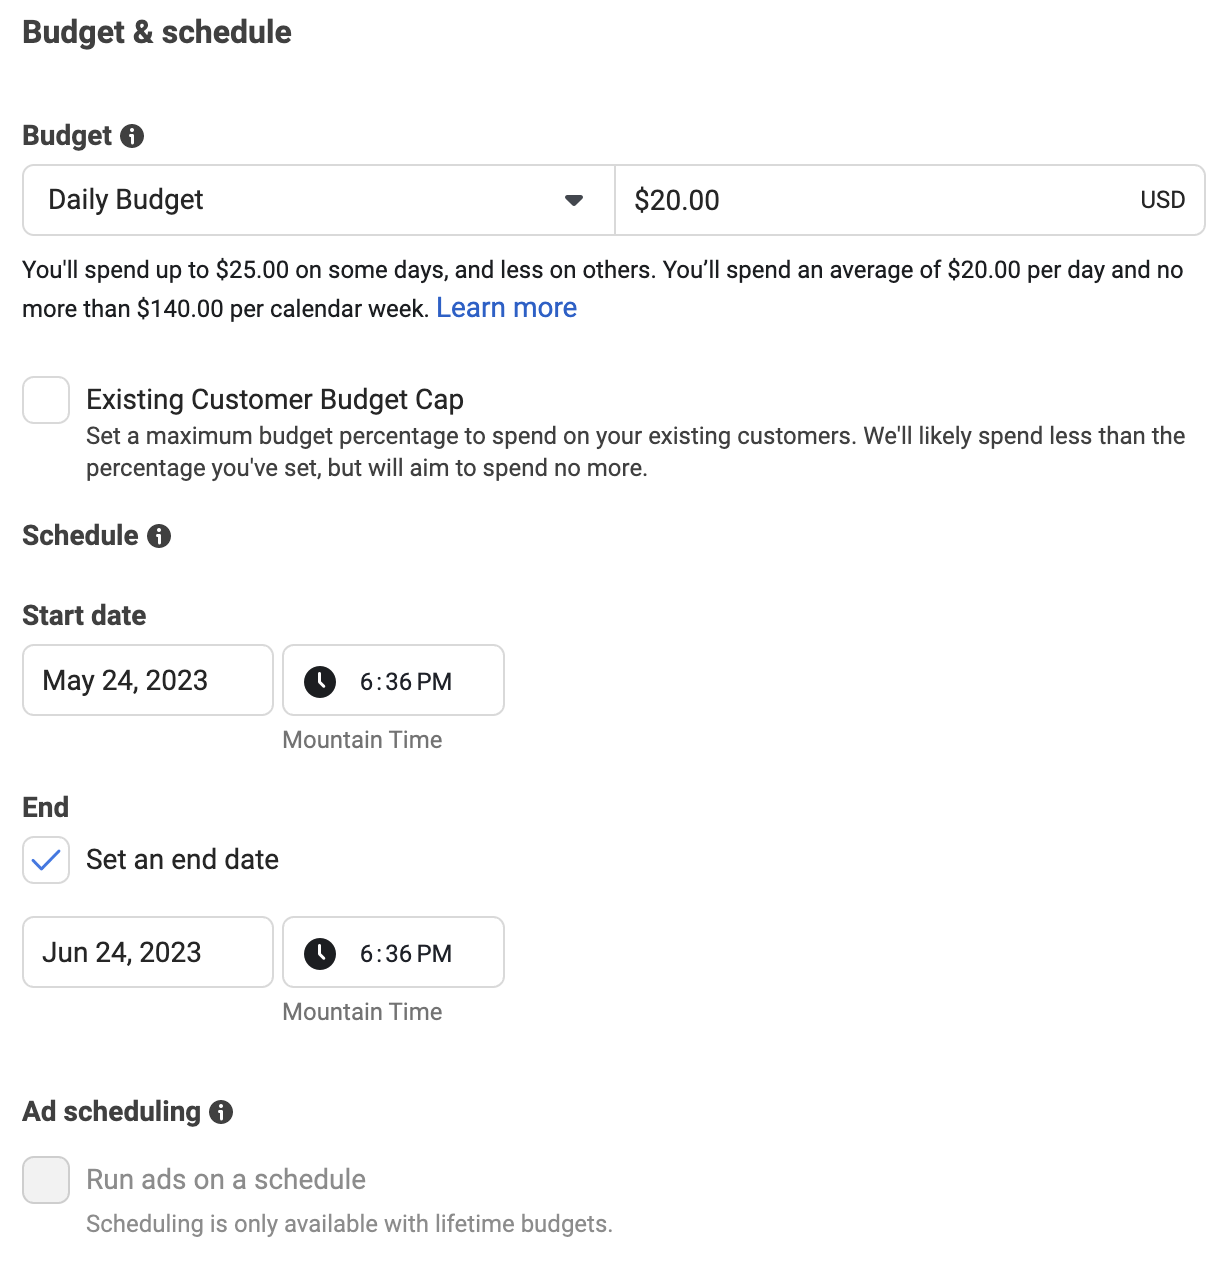
Set a daily or lifetime budget. If you use a lifetime budget, you can use dayparting and set your budget on a schedule. Nothing new so far.
But, you can set an Existing Customer Budget Cap.
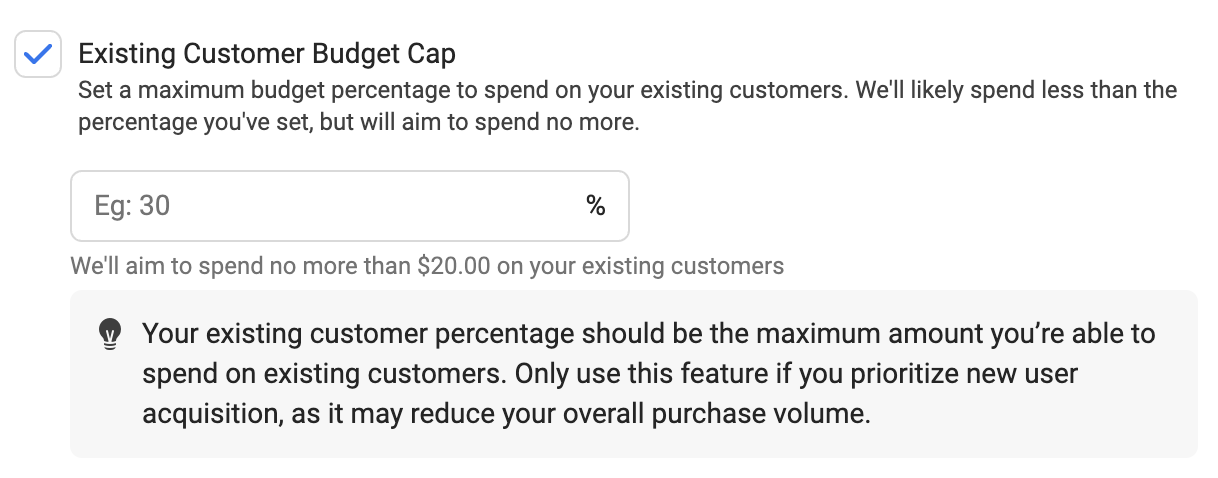
If you want to focus on new customers, you can adjust this here. But I’d make sure you have a really good reason for doing so, like if current customers wouldn’t be a prospect. Otherwise, you’re just restricting the algorithm and preventing it from doing its job.
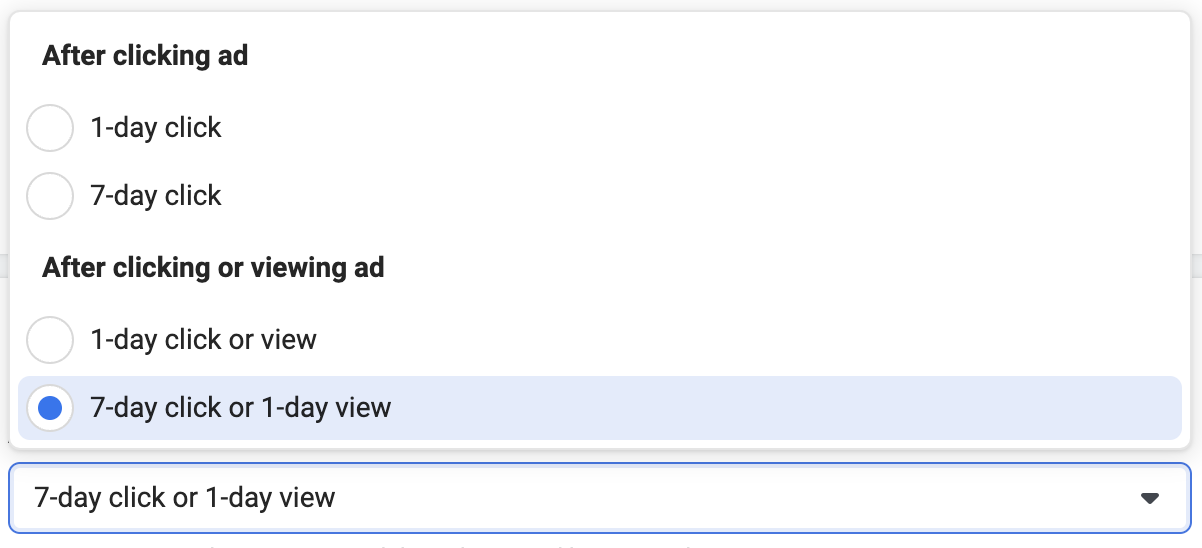
9. Optimization & Delivery
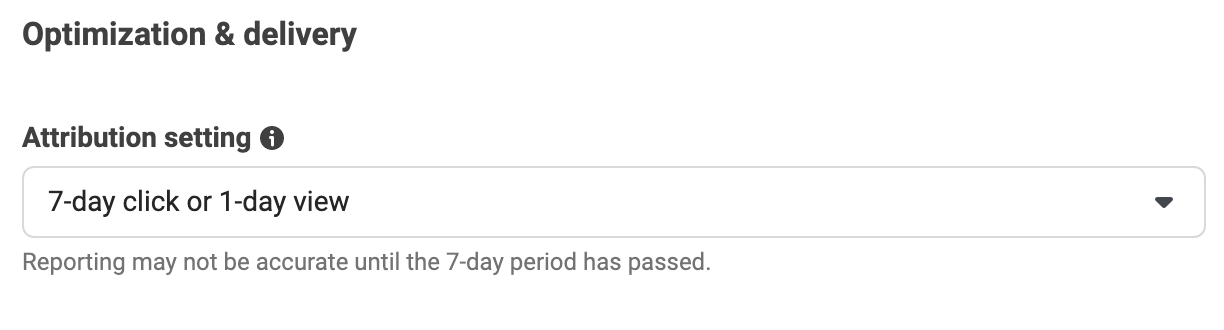
There’s nothing new here. The default Attribution Setting is 7-day click and 1-day view. But you can change it to 7-day click, 1-day click and 1-day view, or 1-day click if you want.
10. Create Your Ad
If you create an ad from scratch, there’s nothing new about this process.
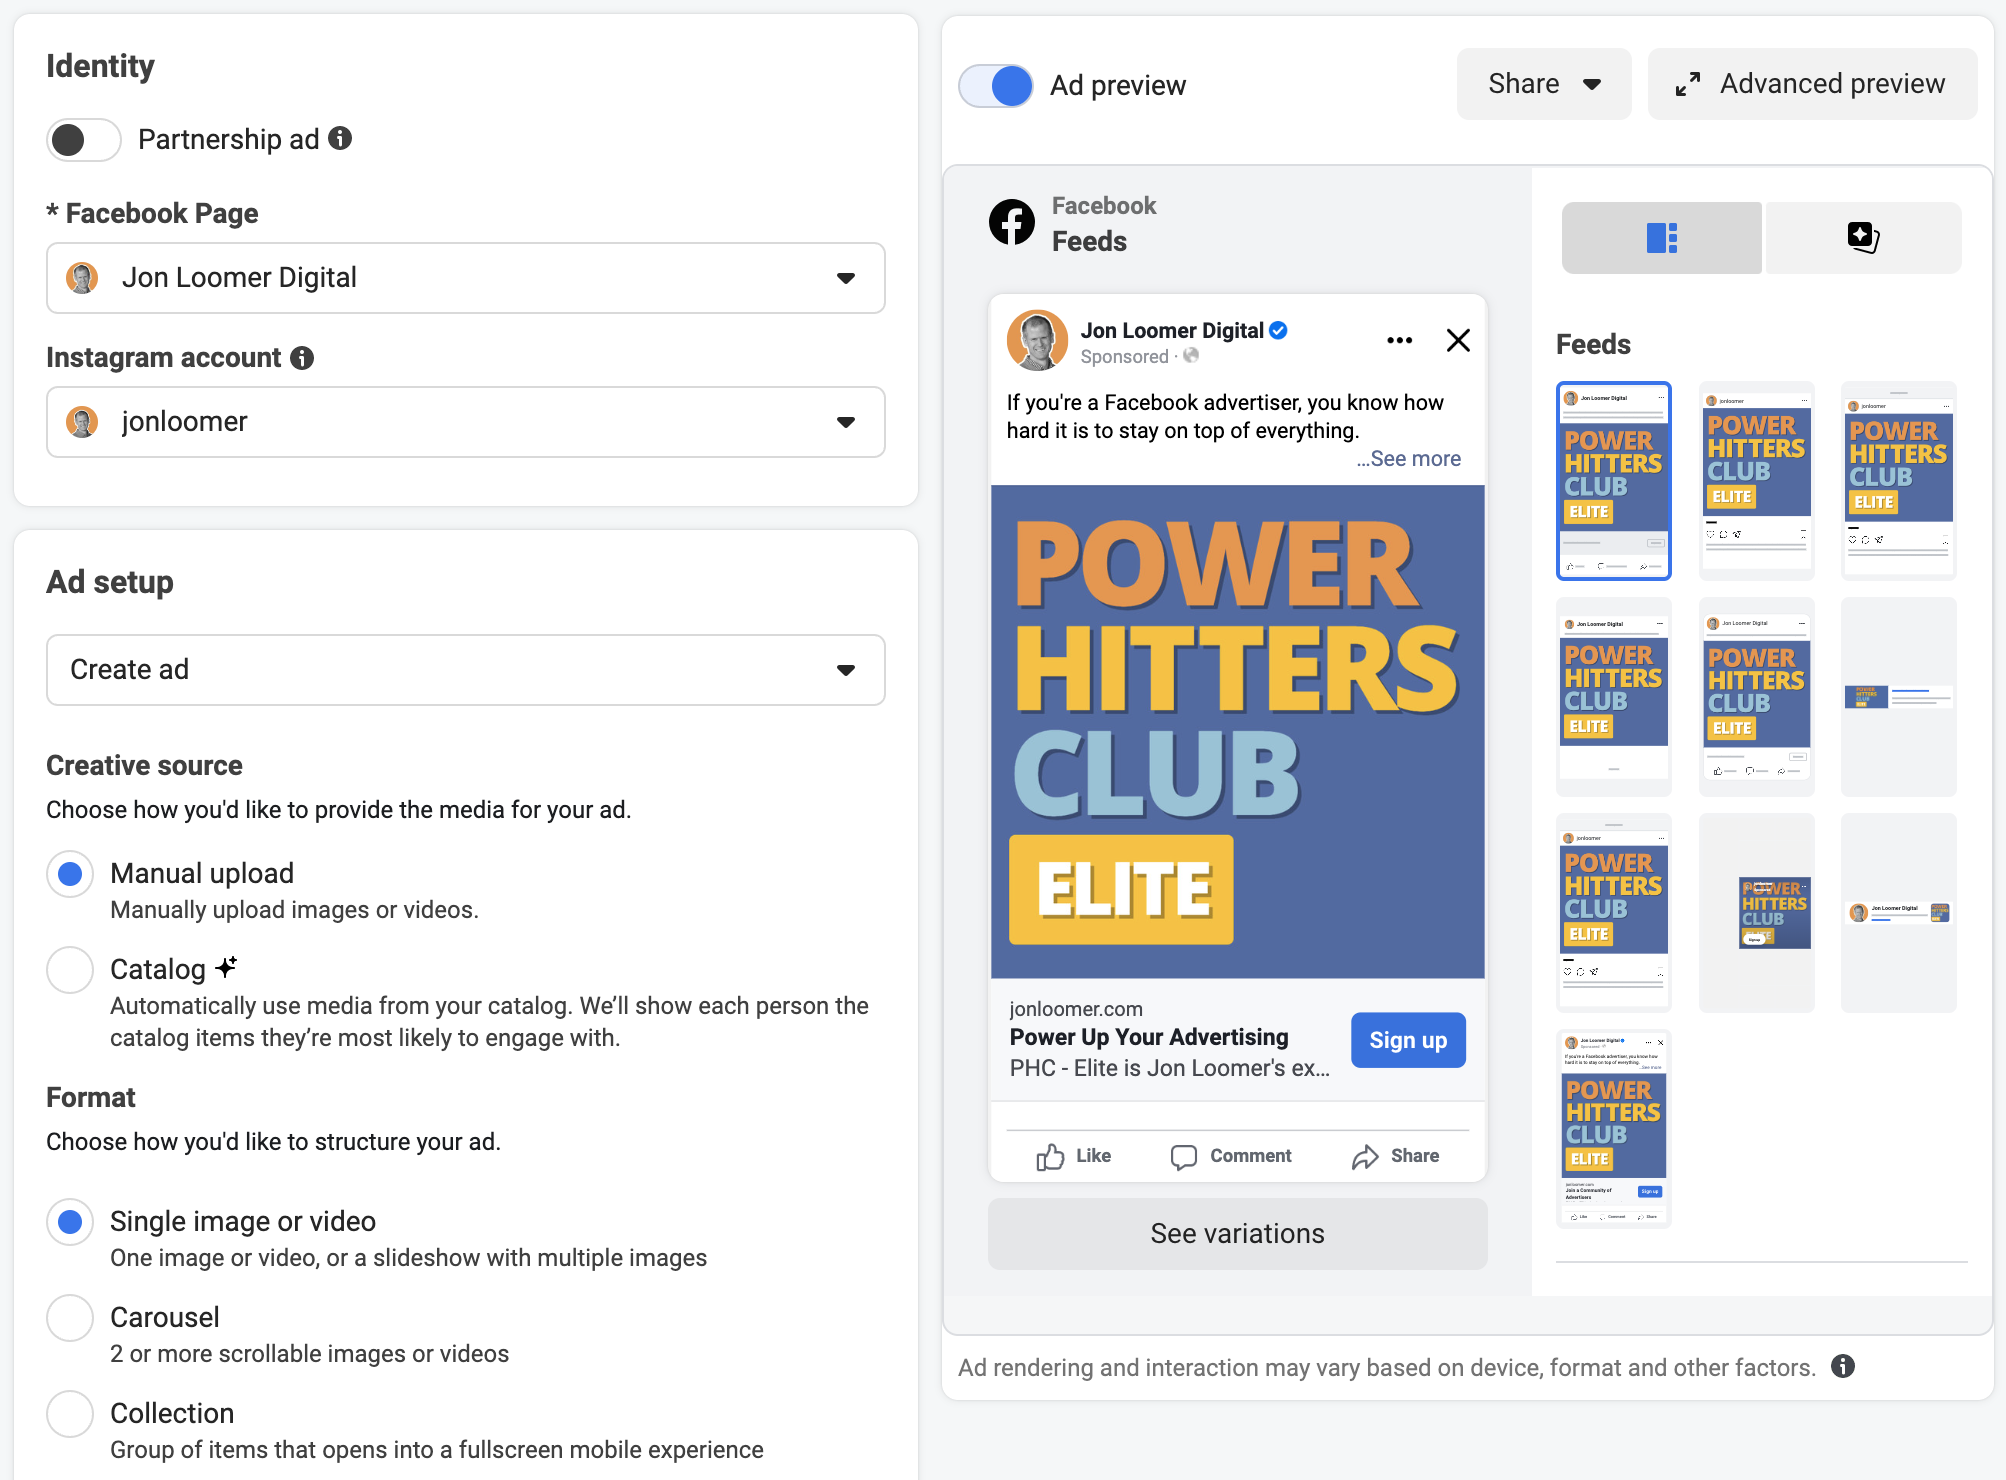
All of the usual options are available, like Advantage+ Creative, setting your destination, language optimization, and tracking (pixel, app events, offline events, and URL parameters).
But it’s not expected that you’re going to create one ad from scratch here. The expectations is that you’ll import all of your “suggested ads” from your portfolio. I haven’t seen this process personally yet, so I can’t provide any more details regarding how that works. My assumption is that it’s catalog related.
The main thing is this: With Advantage+ Shopping, Meta can automatically test up to 150 creative combinations and deliver the highest performing ads.
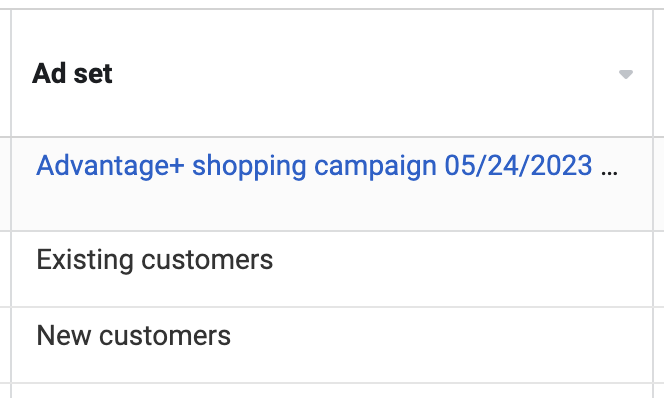
11. Breakdown
Once you publish your campaign, another unique benefit relates to the sixth step when we defined our current customers. Since Meta has that information, we can now breakdown our results by current and new customers.
From the Breakdown drop-down menu in Ads Manager, go to Delivery and select either Audience Type or Audience Type and Country.
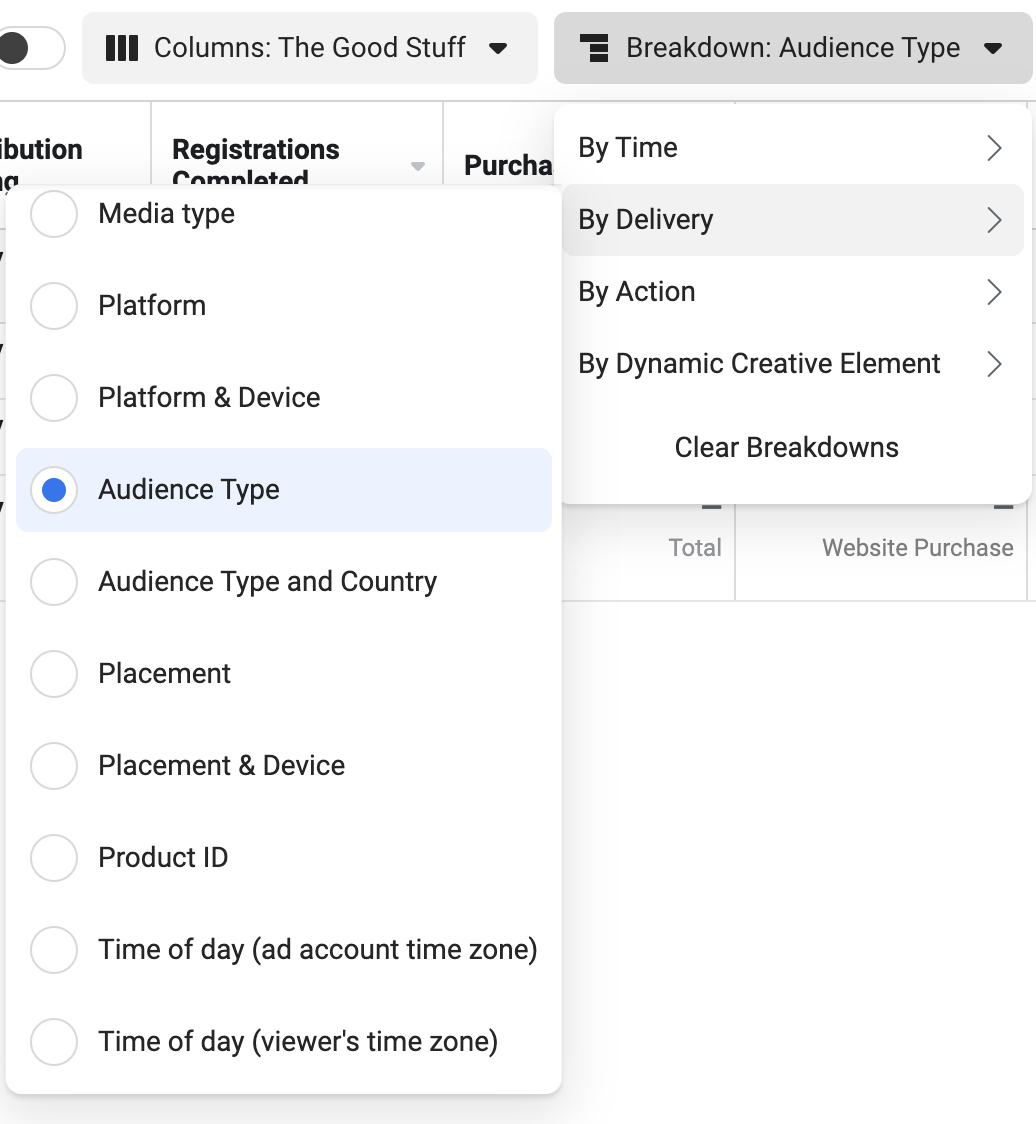
You can then get a very helpful breakdown to see how budget and performance are distributed by audience.
Questions? Concerns?
Look, I’m completely new to Advantage+ Shopping. I can’t say much yet. I know that the feedback has largely been positive.
But so far, a small thing does jump out at me. Brands that sell one-time-purchase products may have some challenges.
For example, my current customers are still potential customers for certain things. But obviously, what I’m promoting matters. I don’t want to sell membership to a current member or a specific course to someone who already bought it. As far as I can tell, though, I can’t really do anything about that.
One option, of course, is to adjust my Existing Customer Budget Cap. But again, I don’t necessarily want to remove them entirely. I just want them to see stuff that’s relevant to them.
Anyway, maybe others have found a way around this. Or maybe it’s simply not ideal for my type of situation.
Overall, though, I’m looking forward to what happens next.
Watch Video
I recorded a video about this, too. Check it out below…
Your Turn
I’ve just started experimenting with Advantage+ Shopping, and I’m probably not the ideal advertiser for it. This is best for an online e-comm brand with a large budget and product catalog.
Have you started experimenting with Advantage+ Shopping yet? What do you think?
Let me know in the comments below!


