Advantage+ Creative was previously Dynamic Experiences and changed its name with the rollout of Meta Advantage in March. But, how these optimizations work evolved considerably since then.
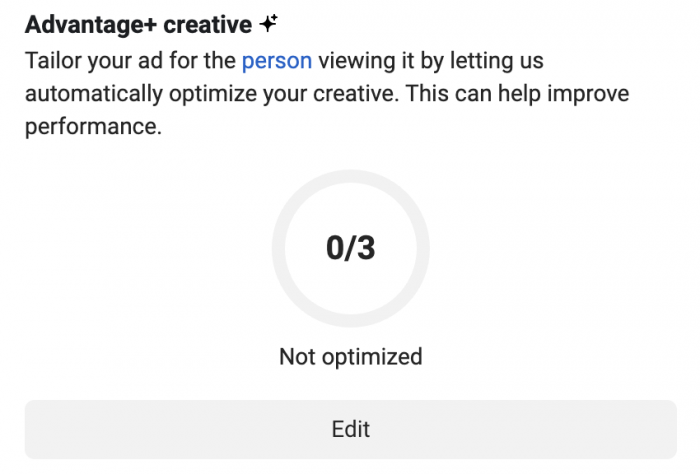
Let’s discuss how Advantage+ Creative works now and whether you should turn it on with your Facebook ads.
What is Advantage+ Creative?
Advantage+ Creative allows for some minor (automatic) enhancements of your ad. Several variations of your ad will be generated that users will see based on which version will most likely lead to a response.
Potential enhancements include…
Media Enhancements
- Adjusting image brightness and contrast
- Applying artistic filters
- Varying aspect ratio
- Adding templates to a feed image
Ad-Level Compositional Changes
- Adding labels
- Displaying relevant Facebook comments
- Swapping combinations of text, headline, and description
It’s important to understand that this isn’t simply Facebook taking an ad image and automatically adjusting the brightness and contrast for the ad. Each of these adjustments is personalized. Some adjustments will apply to some people while others will apply to others — depending on what people are most likely to respond to.
Requirements
If you’d like to turn on Advantage+ Creative, you must use the following settings:
- Traffic, Leads, Engagement, Sales and App Promotion objectives
- Single image or video
- Ad with a website destination
- One ad per ad set
The one ad per ad set limitation might be easy to miss, but it makes sense — particularly for lower budgets. This will automatically generate multiple variations, so you don’t necessarily need to create a bunch of different ads.
The Advantage+ Setup Process
Assuming you’re using one of the required objectives, create a new ad using a single image or video. Add primary text, headline, and description (using multiple text options if you can).
Then, upload a single image or video. Let’s use an image since that (at least for me) leads to more enhancement options.
After you advance through the “Crop” screen, you’ll advance to “Optimize.” It looks like this…
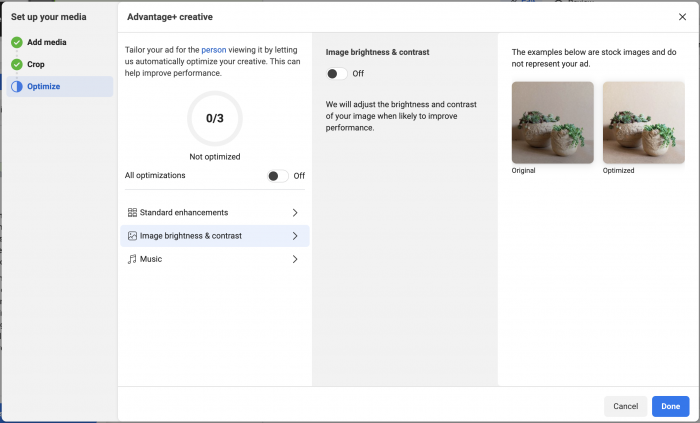
If you’d like, you can immediately accept all three optimization recommendations.
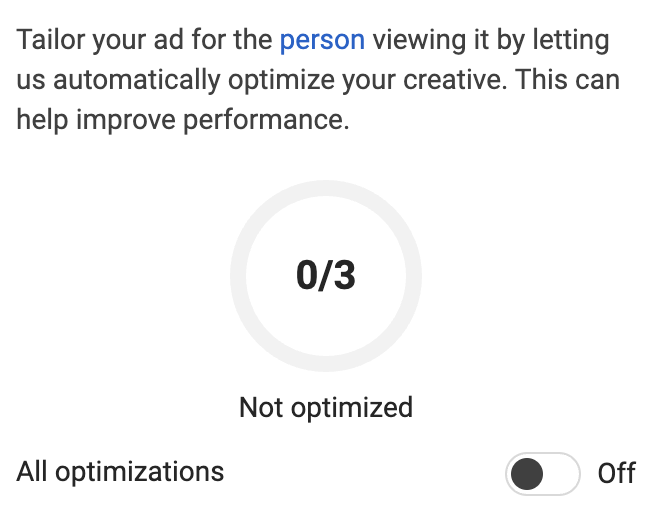
Instead, let’s go step by step so that you can see what’s possible.
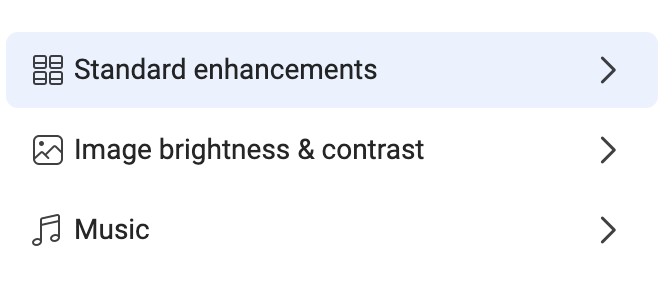
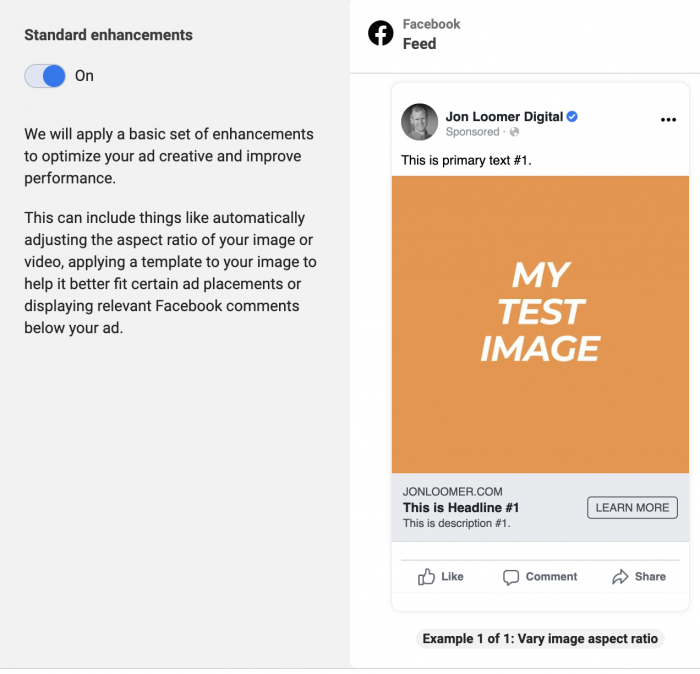
Let’s start with Standard Enhancements. When turned on, Facebook will apply some minor creative enhancements like aspect ratio, applying a template to your image, or displaying labels.
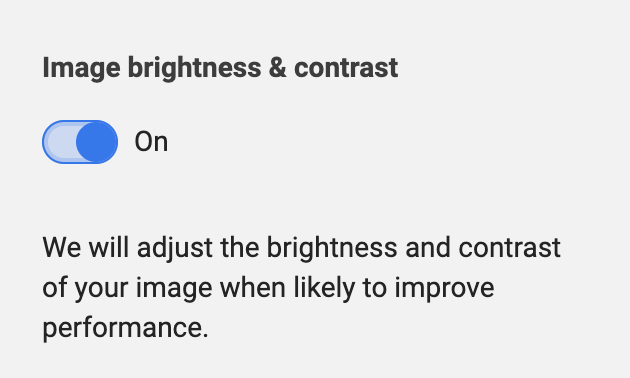
The second enhancement is image brightness and contrast, which is self-explanatory.
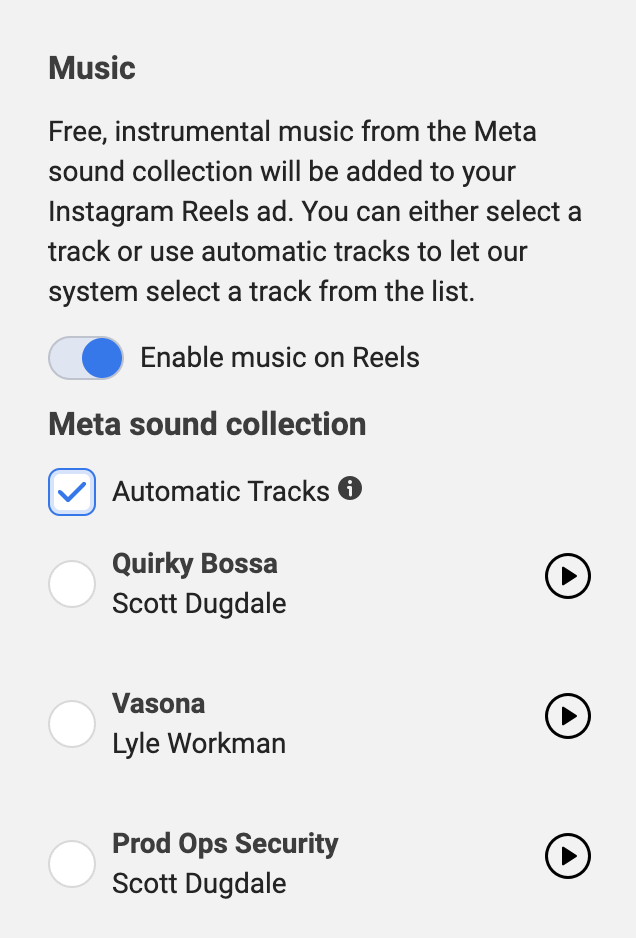
And finally, you can automatically enable music when using the Instagram Reels placement. You only uploaded an image? Well, Facebook can either automatically select music for you or you can manually select a track.
Example
I’ve yet to find a way to preview exactly what your changes will look like when you turn this on. But Facebook does provide the following generic example…
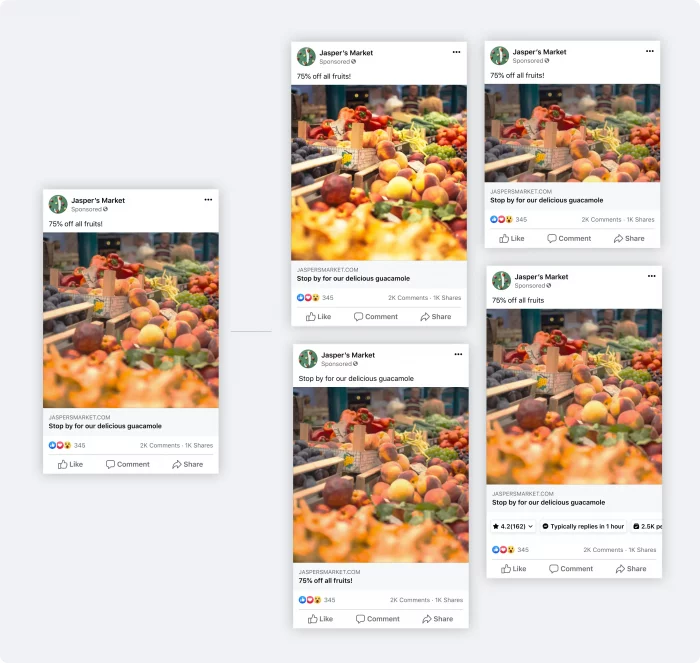
Most of these adjustments are tough to spot at first.
The image has been cropped differently in one placement. In another, the image seems brighter. And in another, the headline and text have been swapped. The final image shocases labels.
Viewing Results
Unfortunately, it doesn’t look like you’ll be able to get any clear indication of what’s working and what’s not working with these enhancements. From Facebook:
When you use standard enhancements, you will be able to see aggregate performance metrics of all the delivered variations in Ads Manager, but there will not be a breakdown by format or ad creative variation. We recommend using split testing to see how standard enhancements perform overall compared to standard ads.
Should You Trust These Adjustments?
I admit that I’ve mostly been very slow to blindly trust some of these automatic adjustments. But, now that Advantage+ Creative goes through the steps like this, the adjustments all look so minor that I don’t think there’s anything to be scared of.
Why not try it out?


