In the last lesson, you learned about the power of Custom Audiences and why you need to start using them. Today is the fun stuff: You’re going to learn how to create and use them!
Ready? Let’s go!
What You Are Going to Learn Today
Today’s lesson is Custom Audiences: How to Create. We’re going to focus on the following:
- How to Create Custom Audiences
- How to Use Custom Audiences
The Lesson
Do you have those customer lists from yesterday handy? You’re gonna need ’em!
How to Create Custom Audiences
Within Power Editor, click the “Audiences” link on the left-hand side…

Then click the “Create Audience” button and select “Custom Audience.”

Next you’ll need to name your audience and give it a description.
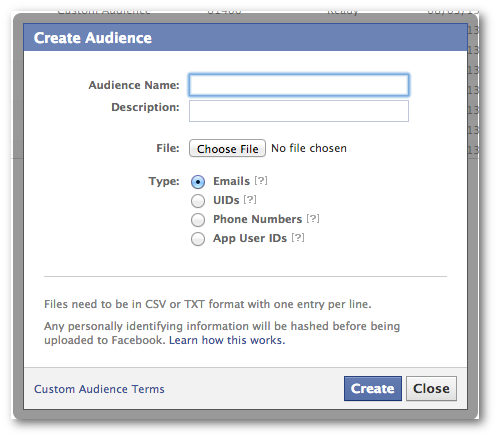
You’ll want both of these to be as descriptive as possible so that you know what types of users are in an audience before you use it.
Now you’ll need to choose the type of list (Emails, UIDs, Phone Numbers, App UIDs) and upload a file. You should upload a TXT or CSV document with one item per line. Note a few requirements for each.
For email addresses, the emails must be in plain text and use the standard format of “[email protected].”
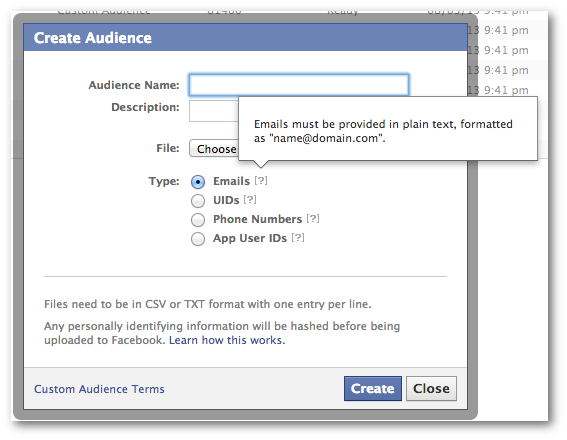
You should first confirm that all addresses are valid, otherwise your upload may fail.
If you’re uploading Facebook UIDs, make sure that all IDs are plain text and numeric only. An example of a UID is “9876543.”
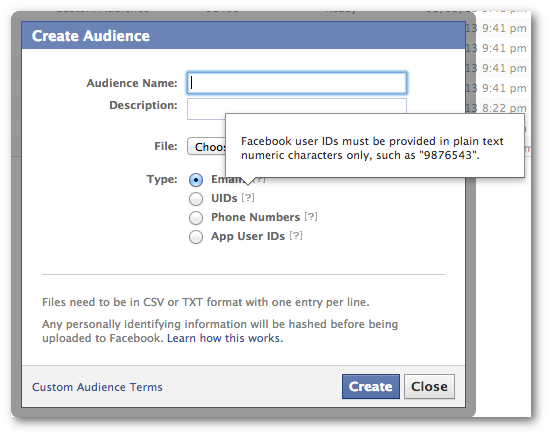
You can find your own UID here as an example.
If you’re uploading phone numbers, all must be numeric only and include a country code.
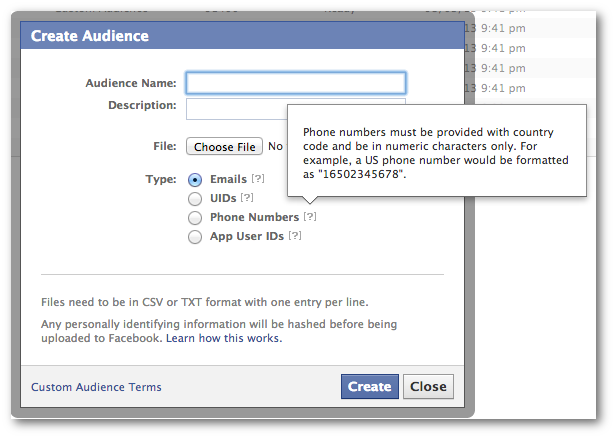
For example, this is bad: (555)555-8000
This is good: 15555558000
If you have a Facebook app, you can target users via their app user ID.
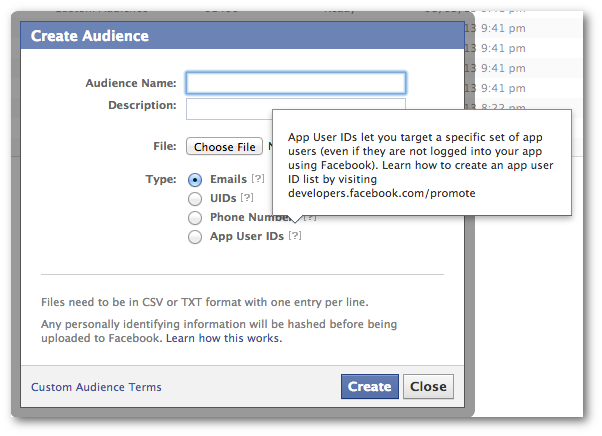
For more on getting app user IDs for your app, go here.
Keep in mind you could always just target your current users of an app as well without Custom Audiences. But this is a way of targeting people who have historically used your app if you’ve kept an extensive list.
After uploading your Custom Audience, you’ll get the following message…
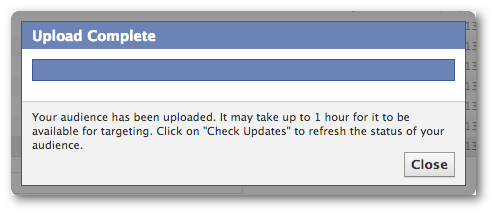
Be patient! Facebook has been known to take at least an hour to create your audience after being uploaded.
Until your Custom Audience is ready, the status will be “Waiting” and the size will show as “–“.
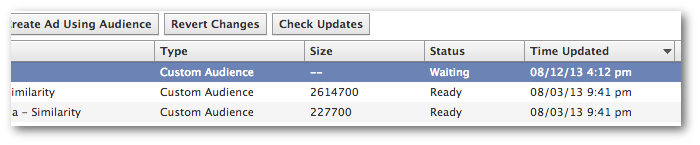
When your audience is ready, it will display “Ready” with a numeric size. Click on the “Check Updates” button periodically if you’re impatient!
How to Use Custom Audiences
Your Custom Audience is ready? It’s time to target that list in an ad!
First, create an ad. You should know how to do that by now!
Then, you can target or exclude Custom Audiences of your choice at the top of the Advanced Options step of ad creation.

Note that you can enter as many audiences as you want into either field.
An example of how you’d use Exclude Audience would be if you are promoting a product and want to exclude the people who have already purchased it. Simply upload the list of users (by email address, for example) and create a Custom Audience, then exclude it.
Your Assignment
Action Items:
- Create at least one Custom Audience (one for each customer list type)
- Create an ad that targets and/or excludes a Custom Audience