Today’s lesson is based on the two simplest actions found within Power Editor, but they are often missed and the cause of quite a deal of confusion.
Ready? Let’s go!
What You Are Going to Learn Today
Today’s lesson is Uploading and Downloading. We’re going to focus on the following:
- Downloading
- Uploading
The Lesson
While Power Editor is an incredible tool, I need to be frank about something: It’s a little primitive.
It’s not dynamic. Any changes that you make do not automatically take effect.
On one hand, this is an annoyance. But on the other, it also prevents mistakes and allows you to experiment before making your changes “official.”
Downloading
As soon as you open up Power Editor every day, you need to remember to click the “Download” button. Do this before you do anything else.
That button is at the top right, next to “Upload.”

As mentioned before, Power Editor is not dynamic. So the information within it is only as current as the latest Download.
This includes Facebook posts, ads created elsewhere (Boost or self-serve ad tool, for example), tabs and any associated metrics that Power Editor displays.
Once you click “Download” you’ll get the following prompt:
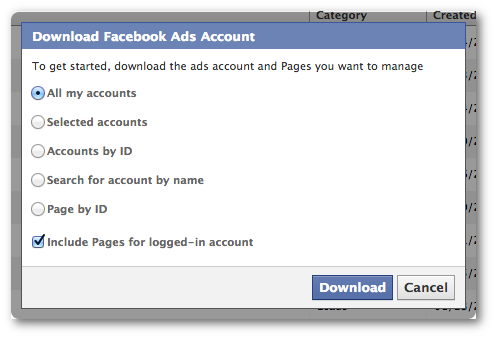
The more data you download, the longer it’s going to take. Personally, I tend to download “All my accounts” just in case, and I “Include Pages for logged-in content.”
If you have any issues with this process not completing, refresh the page and try again. This will happen, in particular, when Power Editor has been idle for a long time (I’m looking at you folks who leave your computer on all night!).
Uploading
You’re smart, so you know that Uploading is the exact opposite of Downloading. This will be necessary to send any changes you’ve made from Power Editor to Facebook.
Facebook likes to remind you to Upload by displaying a little “Up” arrow next to any ad or campaign that has been updated and needs to be uploaded.
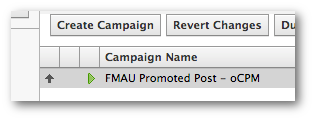
Another clue is that Facebook will display any campaigns that need to be uploaded in bold on the left side.
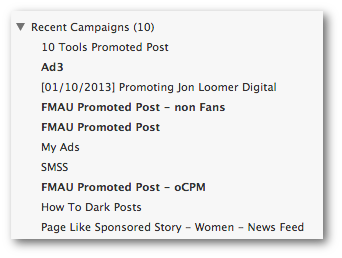
Don’t upload, of course, until your campaign is ready. Then select that individual campaign and click the Upload button.
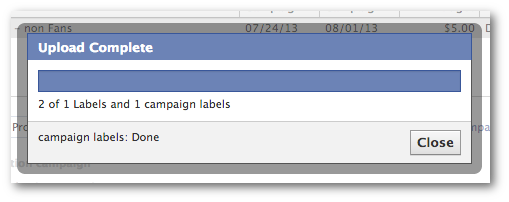
You’ll need to go campaign by campaign to upload any changes that have been made (upload only those campaigns that have had changes).
I know this seems like a ridiculous annoyance. It actually is. But to keep it simple, just make sure you upload any final changes you’ve made to a campaign before moving on to the next one.
The key is to make Download and Upload part of your Power Editor routine!
Recap
What did you learn today?
1. How, when and why to Download
2. How, when and why to Upload
Your Assignment
Action Items:
- Click “Download” and update all of your accounts (make sure if you were previously working in Power Editor that any changes you want are first uploaded)
- Make changes to a campaign to experience the “UP” arrow and bold actions

