


Recently, I walked you through all of the ways I am conducting virtual live streams — so many that it was one of the longest posts I’ve ever written. Today, I want to take a closer look at how I schedule and conduct a Facebook Live interview session using BeLive (not an affiliate link).
There are two primary ways I conduct a Facebook Live session: 1. Webinar-style and 2. Split-screen interview. I don’t do the solo, talking head with my phone Facebook Live. I always use third-party software. Today we’ll focus only on the interviews conducted over Facebook Live.
If you want even more detail regarding how I do this, the equipment I use, in addition to my usage of Ecamm Live, GoToWebinar, GoToMeeting, WebinarJam, and Zoom, join me at my upcoming training!
Setting Up BeLive
BeLive is a web app (you don’t have to download or install anything) that is insanely easy to use. I use it for all of my interview-style Facebook Live sessions. Let’s walk through exactly what I do with it.
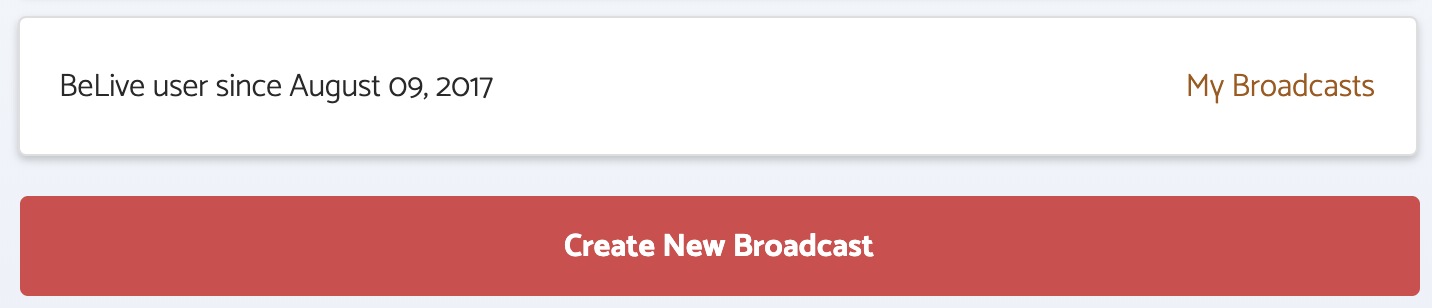
While on your BeLive profile page, click the button to create a new broadcast.
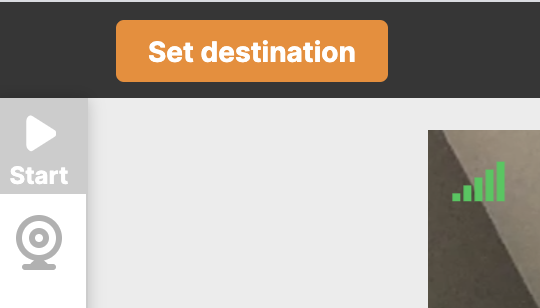
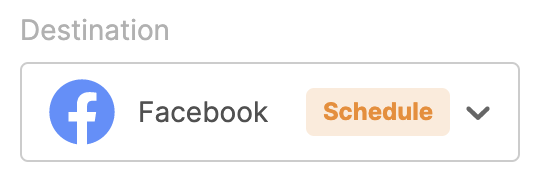
The first thing I’ll do is set the destination (Facebook page or group, typically).
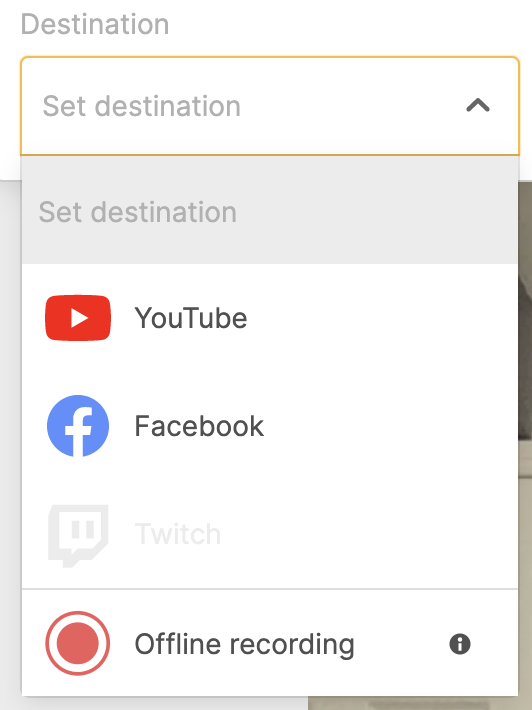
You can choose from Facebook, YouTube, an offline recording, or Twitch. I’ll select Facebook.
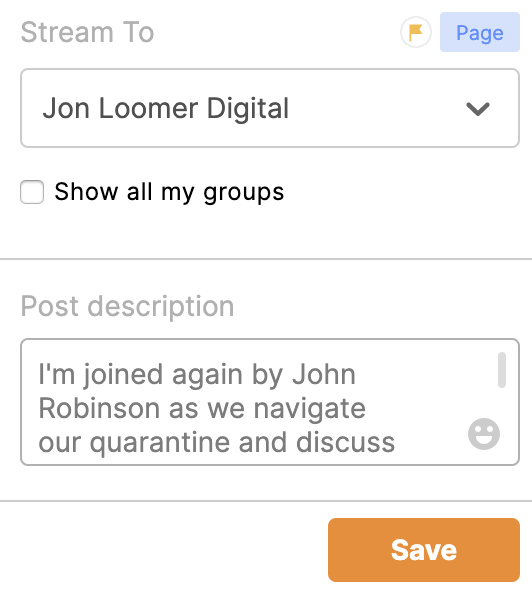
I typically conduct my interviews for my Facebook page audience, but I’ve also streamed these to Facebook groups as well. After selecting my Facebook page, I enter in a brief description that will be attached to the post.
Next, I will schedule the post.
While scheduling, I can also add a custom thumbnail image.
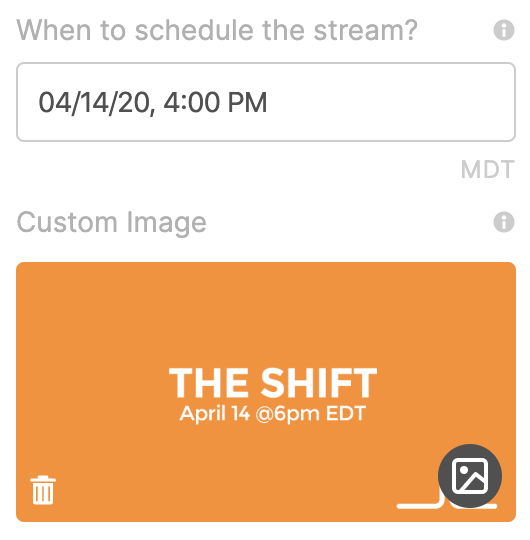
Then click Save.
Since this will be an interview, I click the “Add Guest” button, copy the URL and send it to my guest. He’ll use that at the time of our interview.

There are various things you can do to change the appearance of your Facebook Live. Click the Appearance icon.
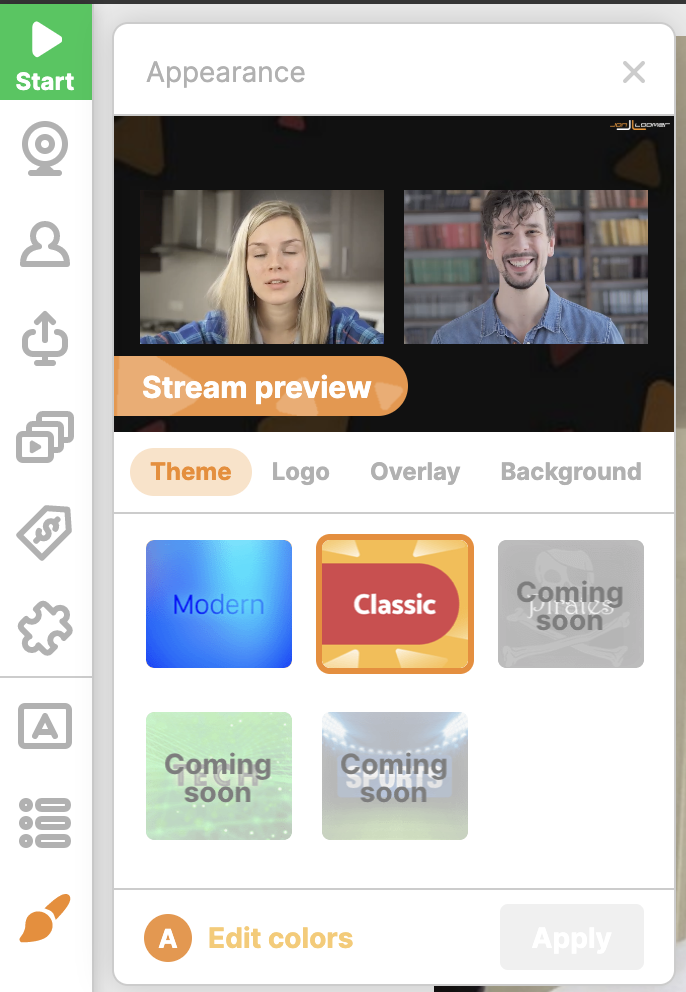
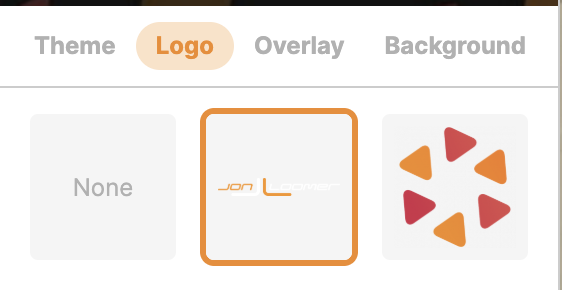
I use the Classic theme. At the logo tab, I’ve added my business logo that is placed in the top right corner of my Facebook Live streams.
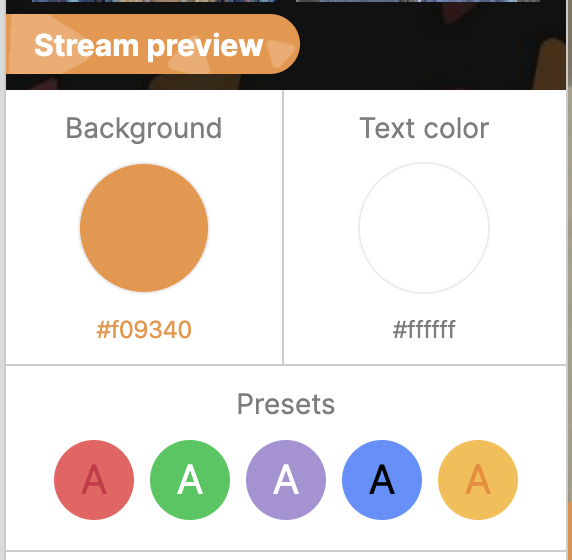
I edit the colors to be consistent with my brand.
You’re able to add an overlay or background, but I don’t mess with those.
Using BeLive
Now, we’re about ready to start our Facebook Live. What you will stream is shown as a preview in the middle of the screen. At the bottom is a staging area.
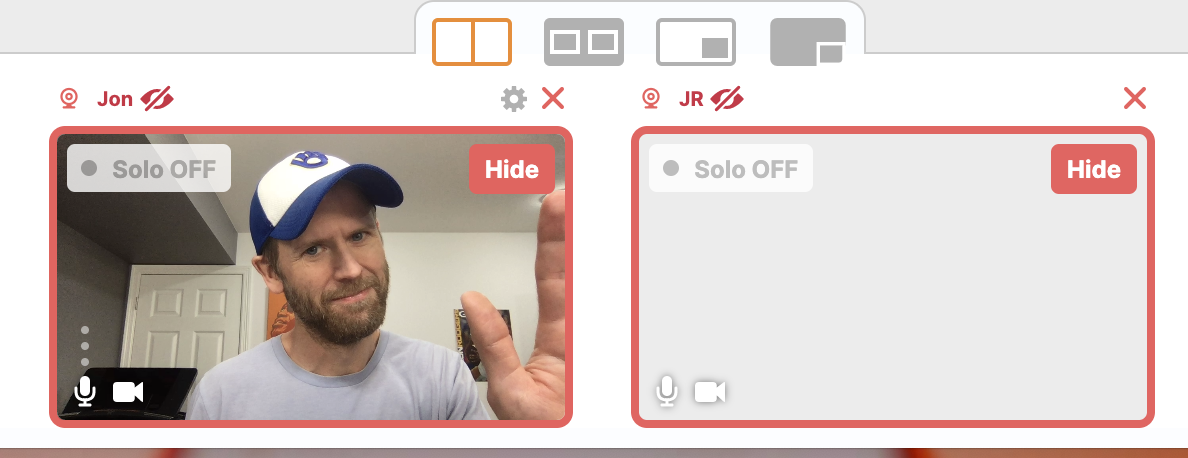
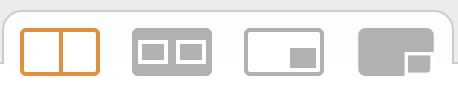
You can choose between four different display formats. I go with the first side-by-side.
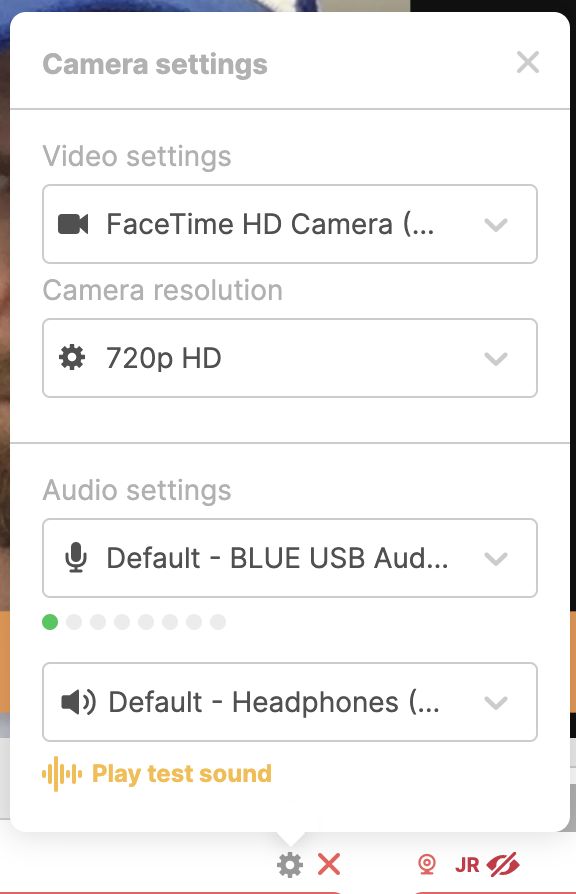
If you click the gear icon, you can adjust your video settings, camera resolution, audio settings, and headphones.
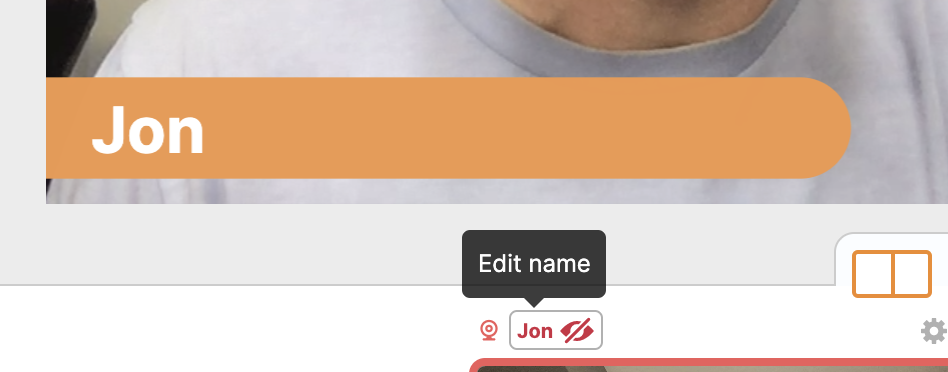
You can edit, display, or hide the person’s name on the screen.
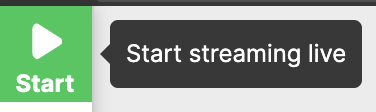
When you’re ready to go live, click the Start button at the top left.
I like to start a few minutes early to get warmed up and welcome people who are there. I also add a crawler that lets people know we haven’t started yet, but that we will start soon. You can do that by clicking the “A” on the left and adding a crawler.
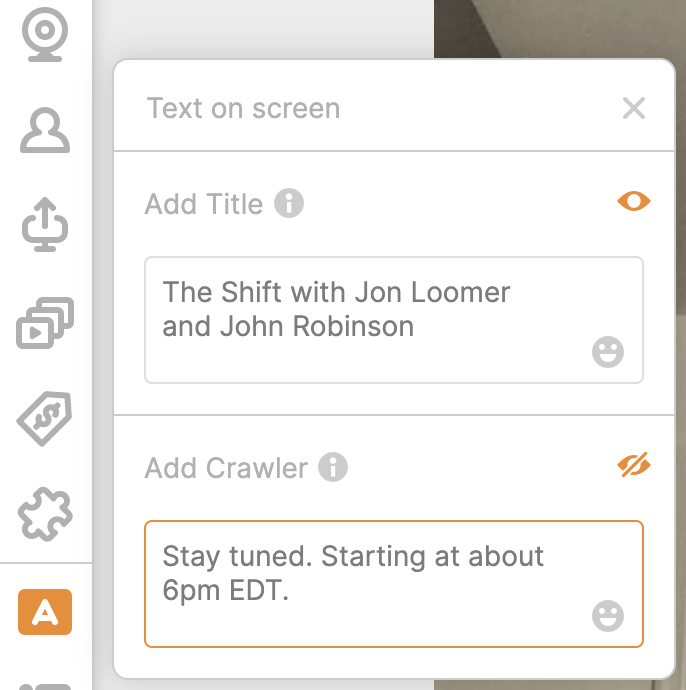
Click on the eyeball to make it visible.

Other Features
BeLive offers other features that I haven’t used yet. You can access these on the left side as well.
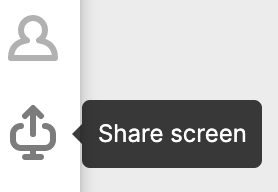
While I don’t use BeLive for hosting webinars, the ability to share your screen is there…
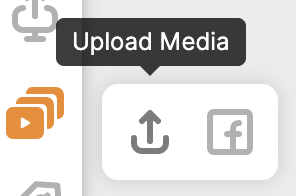
You can also add media, either by uploading from your computer or importing from Facebook…
Live shopping is also an option, though you’ll need to contact support to get that feature.

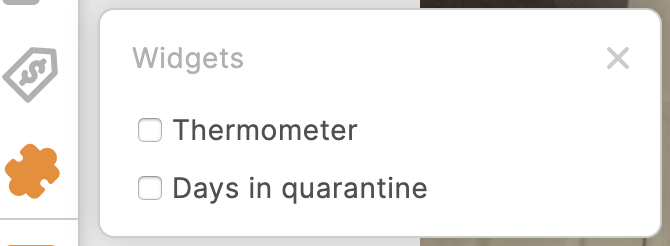
Widgets are new and currently allow you to add an overlay for thermometer or “Days in quarantine.” I imagine they’ll expand on this.
And, finally, you can add an agenda to create some structure for your Facebook Live.

Your Turn
I’ve used BeLive since 2017, and I find it very easy to use. Have any questions?
Let me know in the comments below!